The short answer
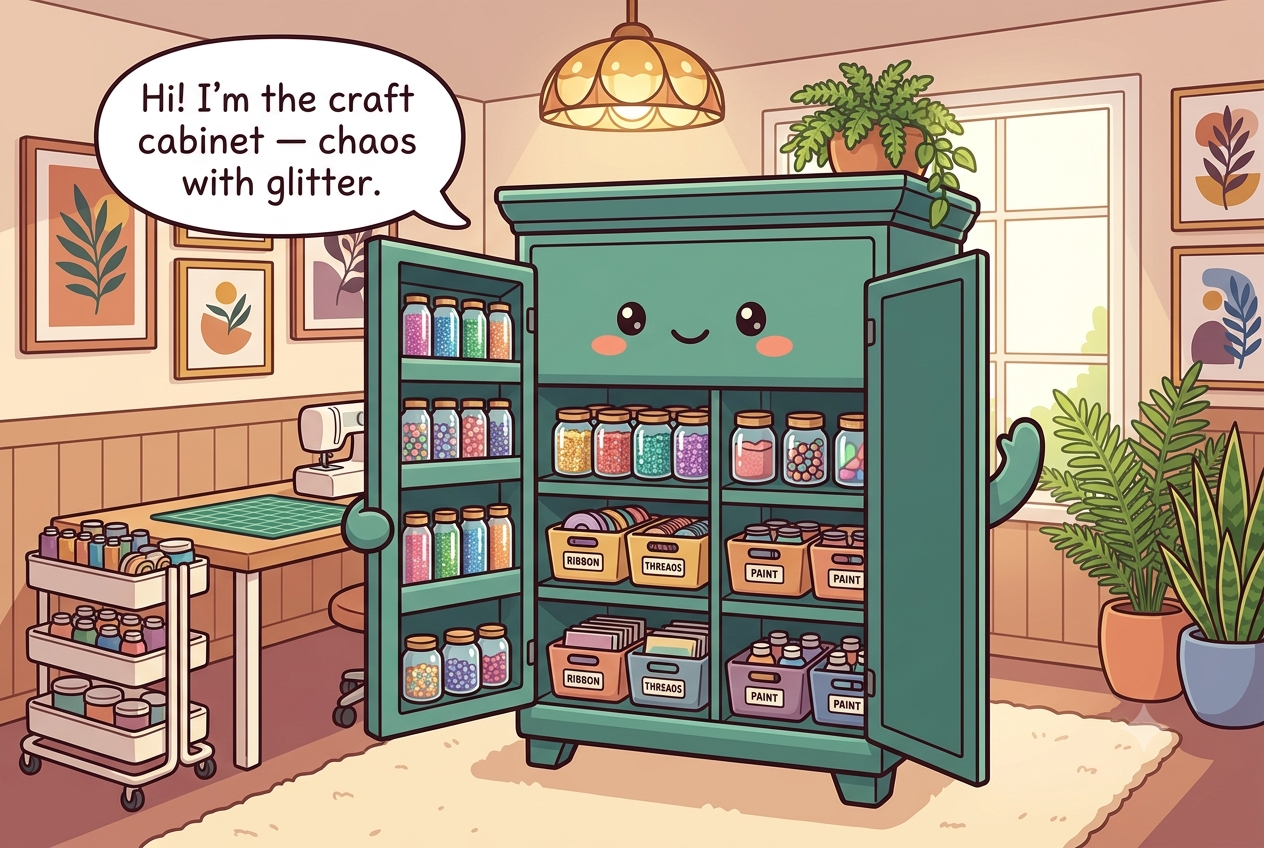
Sort craft supplies according to how you make things—by craft if projects stay separate, or by material if they overlap. Keep small pieces visible in shallow clear containers, give every work in progress one bounded tray or box, and store blades, solvents, strong adhesives, dyes, and other hazardous materials in original labeled containers, secured high and locked away from children.
What to gather before you start
- Clear jars, small bins, or a divided organizer for small items
- Larger labeled bins for bulky materials
- A high shelf or lockable spot for blades, hot tools, and solvents
- A portable caddy or tray for your active project
- A bin for works-in-progress
- A donation box for supplies you won't use
Measure first. Buy only the pieces that solve a specific access problem.
Empty it and clear out what's dead
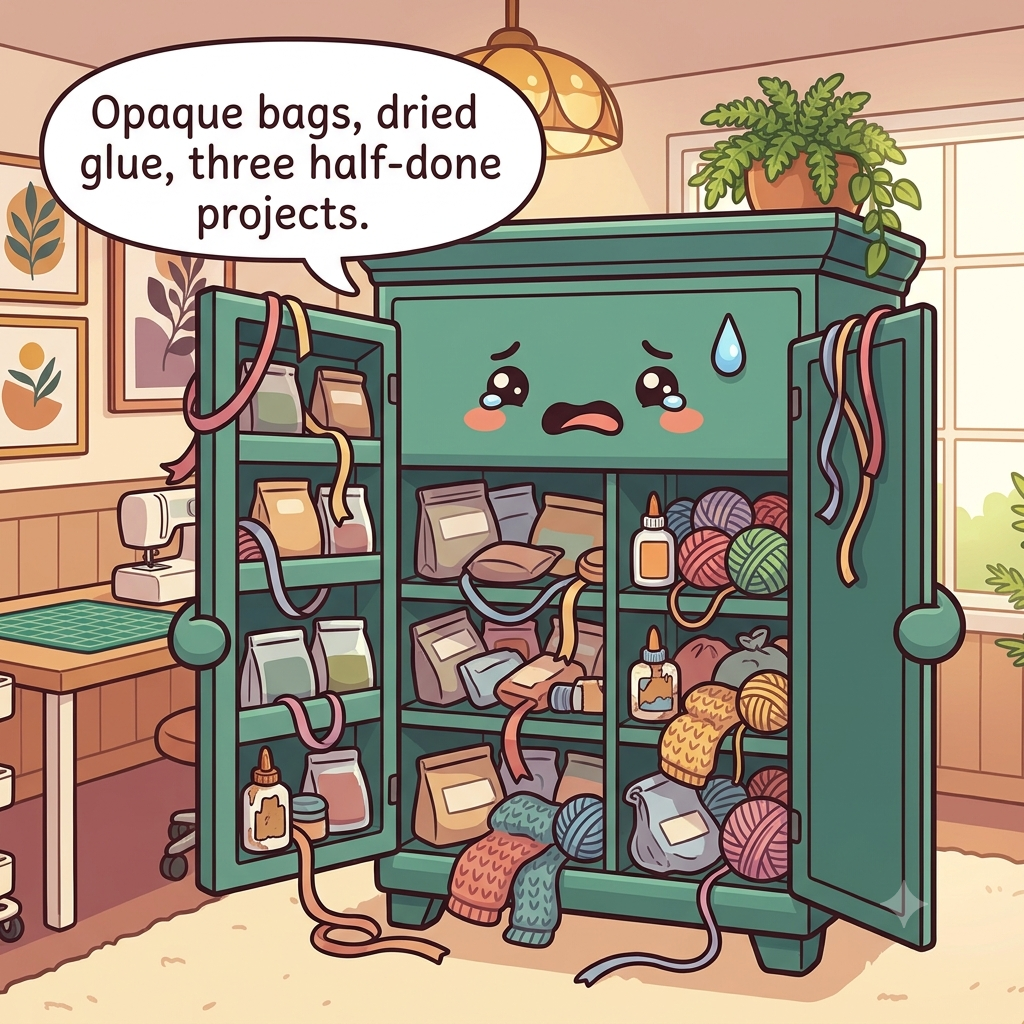
Work one cabinet, cart, or drawer at a time and sort usable materials from dried paint, empty pens, hardened glue, broken tools, scraps too small to use, and mystery containers. Follow local disposal rules and product labels for paints, solvents, adhesives, resin products, blades, and other potentially hazardous supplies rather than putting everything in household trash.
Keep packaging or labels that contain safety, curing, ventilation, or ingredient instructions. A decanted mystery liquid is not an organization win. Wipe dust and glitter before reloading, and repair damaged storage that can spill tiny parts.
Before reloading, separate ordinary waste from products that need label-directed or local hazardous-waste disposal. Dried glue sticks and clean paper scraps are not the same problem as solvent, resin, spray adhesive, or an unknown liquid. Keep original labels with any product you retain, because ventilation, curing, flammability, skin-contact, and disposal instructions can differ widely. If the identity of a chemical is unknown, do not combine it with another product just to consolidate containers. Keep a small disposal box only for dry ordinary waste; hazardous leftovers should stay separated until you can follow the label or local collection instructions.
Sort by craft, or by material if you mix
If each hobby uses a separate set of tools, create complete zones for sewing, paper craft, painting, or jewelry making. If you regularly combine materials, group by material—paper, fabric, paint, adhesives, cutting tools, and embellishments—so the same supply is not duplicated in several project boxes.
Choose the method that reduces setup time for your actual work. Keep the most active craft nearest the work surface and move occasional hobbies higher or farther back. Avoid creating categories so narrow that every new material requires a new bin.
Let setup behavior decide the taxonomy. If every sewing project starts by pulling one complete sewing bin, a craft-based zone saves steps; if paper, paint markers, and adhesives are shared across many projects, material-based drawers are easier to maintain. You can mix the two systems: keep universal tools together and reserve one box for specialty equipment. What matters is that one supply has one obvious home instead of duplicates hidden in several project kits. If a new hobby arrives, decide whether it uses an existing material zone before creating another permanent category; this keeps one-off purchases from fragmenting the cabinet.
Store small things see-through
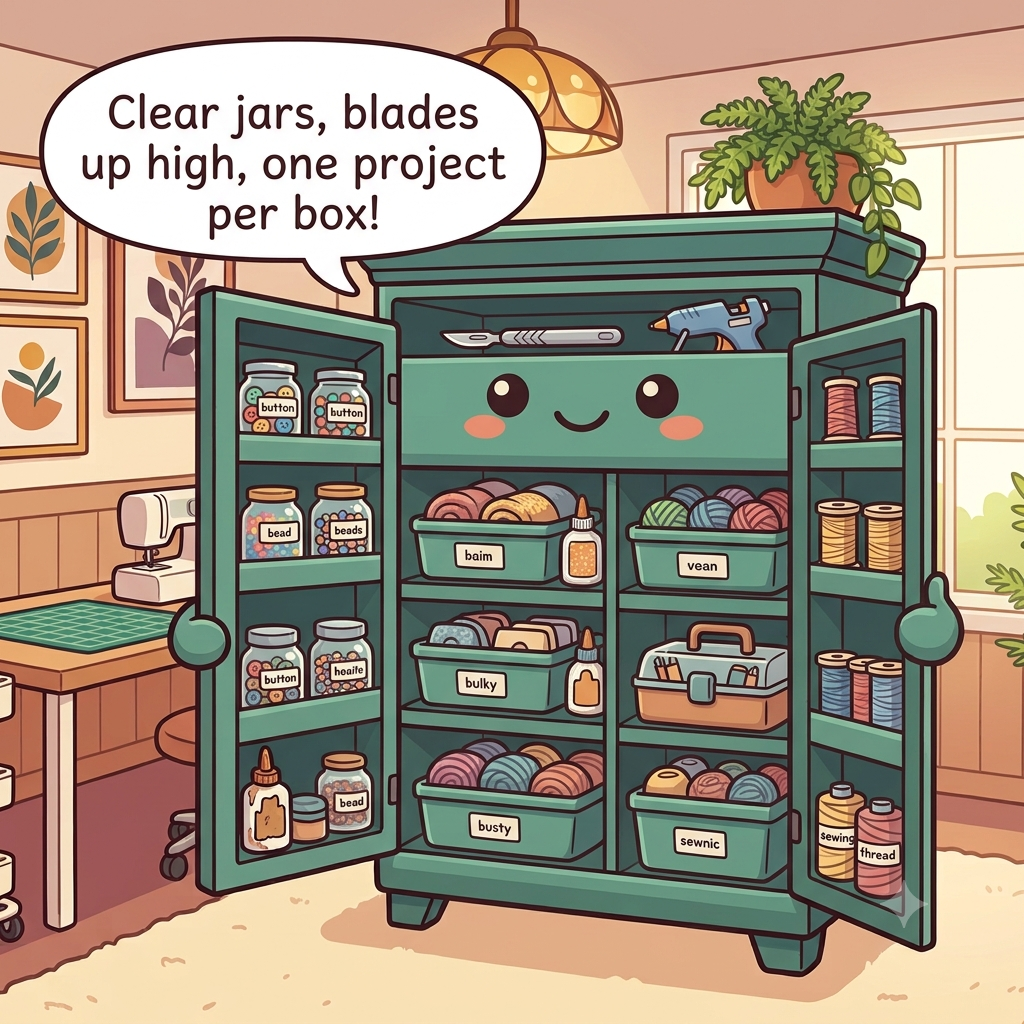
Use shallow clear boxes, divided cases, drawers, or labeled jars for beads, clips, snaps, thread, stamps, and other tiny supplies. Keep one material family per container and avoid filling deep bins where the useful pieces sink to the bottom. A removable tray can bring the whole small-parts category to the table.
Do not store sharp pins, needles, blades, magnets, or button batteries loose in a general clear bin that children can access. Use secure purpose-built containers and place hazardous small items in an adult-controlled location.
For tiny harmless pieces, visibility is usually more useful than decorative uniformity. Shallow divided boxes let you see beads, clips, snaps, and findings without dumping a deep container. Keep labels on the edge that faces you when the box is shelved. Sharp or hazardous small items are the exception: needles, blades, button batteries, and strong magnets need secure adult-controlled storage rather than an easy-open clear tray where a child can browse them. For thread, ribbon, or cord, use a holder that prevents tangling without creating long loose loops where young children play.
Put the sharp and toxic things up and away
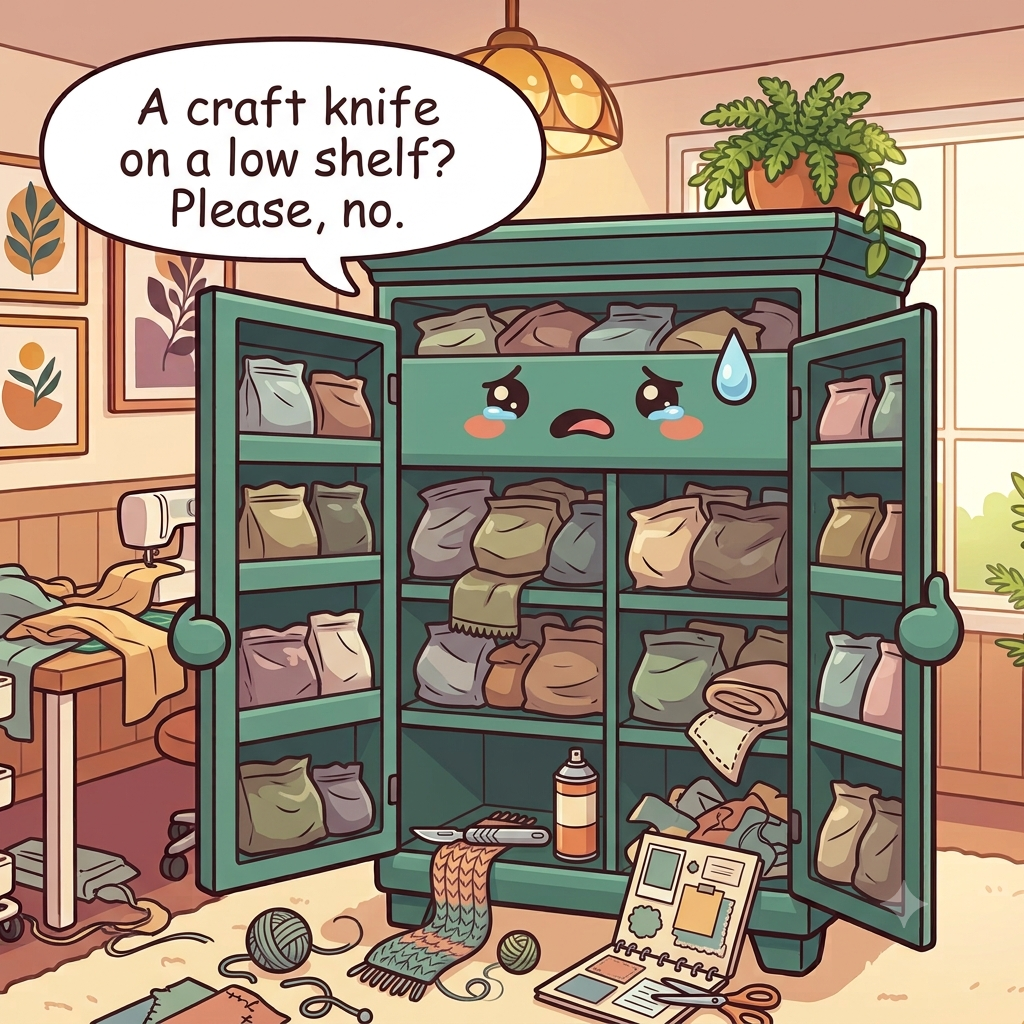
Store craft knives, replacement blades, strong solvents, resins, dyes, spray products, and hazardous adhesives in their original labeled containers and according to each product's temperature and ventilation instructions. In homes with children, keep these supplies locked and out of reach and sight, not merely on a slightly higher open shelf.
Never decant chemicals into food or drink containers and never mix products unless the manufacturer explicitly directs it for the project. Keep cutting tools capped or sheathed so reaching into a bin cannot contact an exposed blade.
Build the hazard zone around the product label, not around convenience. Keep craft knives capped or sheathed; keep solvents, resins, dyes, sprays, and strong adhesives in their original labeled containers; and secure hazardous materials high and locked when children are present. Do not transfer chemicals to beverage jars or unlabeled squeeze bottles. If a product requires ventilation, temperature control, separation from ignition sources, or special disposal, preserve those instructions where the product is stored.
Give works-in-progress a contained home
Assign one project tray, lidded box, or portfolio to each active work in progress and include the materials and notes needed to resume. Set a physical limit on how many active-project containers the space can hold. When the limit is full, finish, pause into archive storage, or cancel a project before starting another.
Keep wet paint, uncured resin, hot tools, or other materials that need curing or ventilation out of closed project boxes until the product instructions say they are safe to store. A WIP container organizes dry, stable materials; it does not override process safety.
A work-in-progress container should make restarting easier, not preserve unsafe process conditions. Put dry tools, notes, cut pieces, and stable materials together, but let wet paint, curing resin, hot tools, and solvent-soaked materials complete the manufacturer-directed drying or curing process first. Label the tray with the project name and next step. When all available project trays are occupied, finish, deliberately archive, or abandon one before opening another.
Why craft supplies slide into chaos again
Do not buy dozens of tiny containers before deciding how you craft, keep dried-out supplies because they were expensive, or mix unlabeled chemicals into decorative bottles. Avoid open bins of blades or small hazardous parts, and do not let every unfinished project occupy a separate piece of furniture.
Another mistake is using opaque boxes for categories you need to browse visually. Match the container to the material: portfolios for flat paper, clear shallow boxes for small parts, vertical holders for rolls, and secure labeled storage for hazards.
A craft area usually becomes chaotic at the transition points: opening a new package, stopping mid-project, or putting away leftovers. Give each transition a destination—a scrap bin with a real size limit, one active-project tray, a return cup for tools during cleanup, and a secured place for hazards. If supplies repeatedly sit on the table after projects end, simplify the return path or reduce the number of active categories instead of buying another cart.
The end-of-project reset
When a project ends, return reusable tools and materials to their main category, discard or recycle true scraps as appropriate, and clean the work surface. Empty the project tray completely before declaring it available for a new project.
Once a month, scan adhesives, paints, and specialty products for drying or damage and make sure labels remain readable. A clean finish routine prevents every project from leaving a permanent debris layer.
At the end of each project, empty the project tray completely, return shared tools, and decide immediately whether leftovers are useful stock or scraps. Wipe lids and bottle necks so products close correctly, check that safety labels remain readable, and return blades and chemicals to secured storage. Once a month, scan paints, glues, markers, and specialty products for drying, leaks, damaged packaging, or expired manufacturer guidance so unusable material does not quietly consume the best storage. Restock only after the area is clean, so empty packages and unusable scraps do not get counted as real supplies.
Sharp and toxic materials
- Keep craft knives, blades, needles, hot tools, solvents, and hazardous adhesives secured from children.
- Keep chemicals and solvents in their original labeled containers.
- Do not store sharp tools loose in an open bin where hands reach blindly.
Renter-friendly option
Use a rolling cart, tabletop drawer unit, over-door pockets for lightweight supplies, or freestanding shelves instead of drilling. Sharp or toxic craft supplies still need secure child-inaccessible storage regardless of whether the system is permanent.
30-second success check
- Small materials remain visible by craft or material instead of disappearing in one deep bin.
- Sharp tools, toxic products, and hazardous small parts are secured from children.
- Works in progress fit inside one defined container or tray instead of spreading across the room.
- Paints, glues, and other products keep their original safety labels and storage instructions.
- A finished project triggers a reset before new supplies are added.
Questions that come up
Frequently asked questions
Part of Entryway, Kids & Family Flow — 4 guides.