The short answer
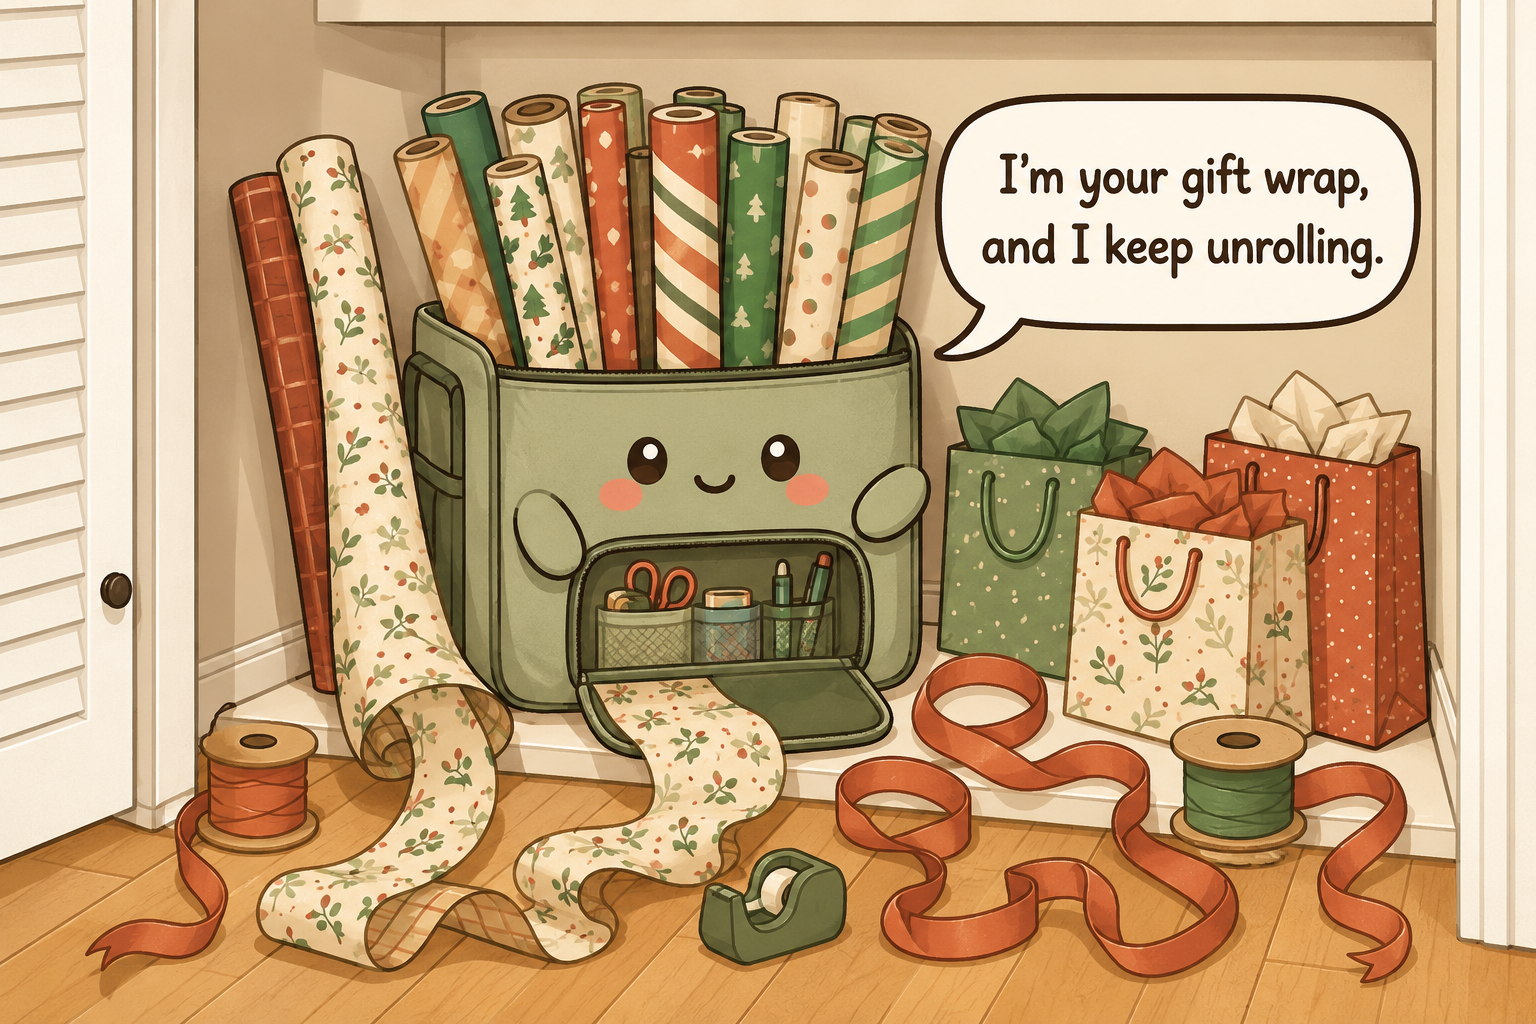
Separate gift-wrap supplies by shape before choosing storage. Stand wrapping-paper rolls upright where every roll is visible, file gift bags and tissue flat, keep tape and tags in one portable wrapping kit, contain ribbon so ends cannot unravel across the shelf, use small divided boxes for bows and accessories, and store scissors or craft knives in a secure adult-controlled location when children are present.
What to gather before you start
- A tall narrow bin or upright wrap bag
- One shallow divided box for tape, tags, and bows
- A file-style holder for flat gift bags
- Reusable ribbon cards or small spools
- A secure container for scissors and craft knives
- An under-bed or over-door organizer if closet space is limited
Measure first. Buy only the pieces that solve a specific access problem.
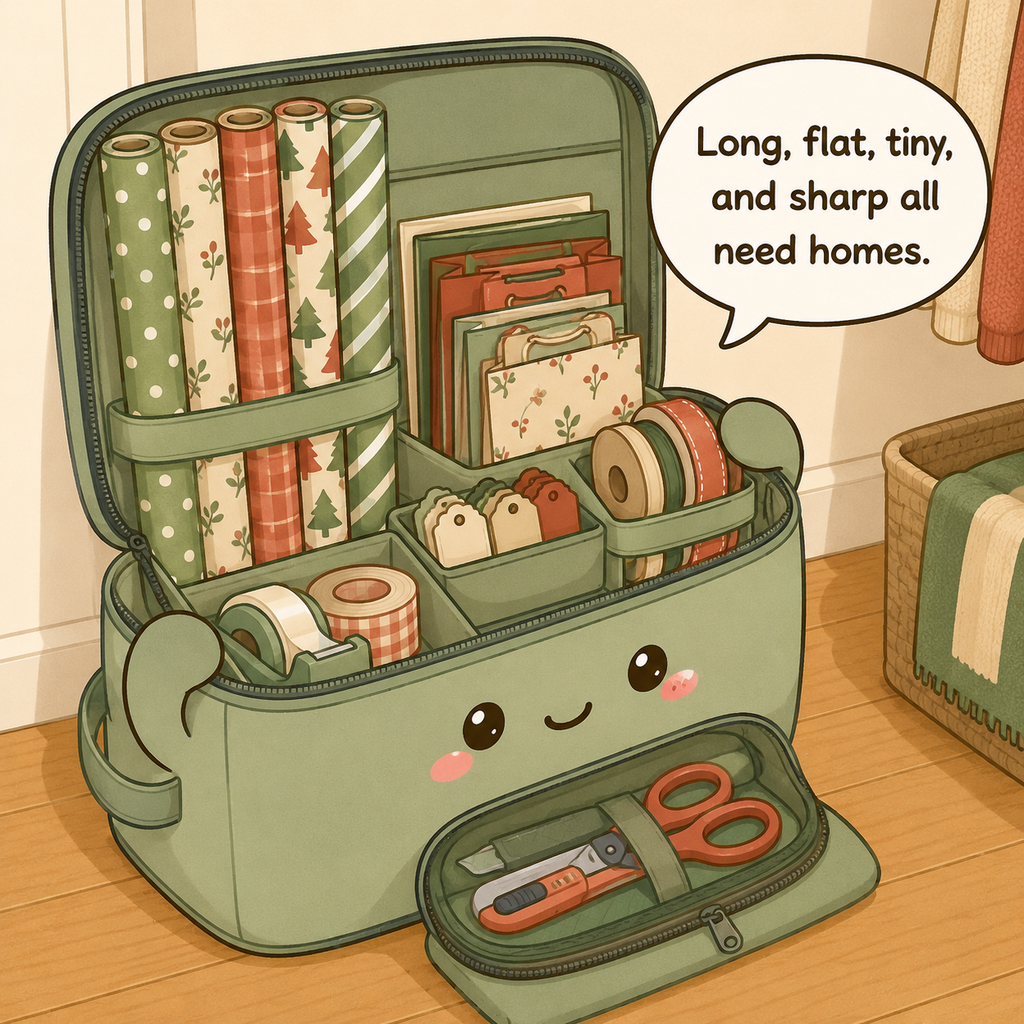
Separate long, flat, tiny, and sharp before choosing storage
Group wrapping-paper rolls, gift bags and tissue, ribbon, bows and tags, tape and adhesives, and cutting tools into separate shapes. Throw away crushed empty tubes, unusably small scraps, dried-out tape, and damaged bags you will not reuse. Keep specialty paper that matters only if it has a realistic future use.
Measure the longest roll, the height of the intended storage area, and the depth of under-bed or door spaces before buying an organizer. Keep blades and sharp scissors separated from general supplies from the start so they do not end up loose in a fabric bin.
Measure the longest roll, available vertical height, under-bed clearance, and door depth after dividing supplies by shape. Long paper, flat bags, tiny tags, ribbon, and sharp tools need different storage; forcing them into one deep tote creates damage and dangerous rummaging. Decide where scissors and craft knives will live before loading the decorative supplies, especially in homes with children. Sharp tools need a defined secure adult-controlled location, not an open pocket beside bows.
Stand wrapping paper up so every roll has a face
Use a tall narrow bin, divided floor container, or vertical rack that keeps rolls upright without leaning across the room. Keep labels or the visible pattern facing outward and sort loosely by everyday, birthday, winter holiday, or other meaningful use if the collection is large.
Do not overfill the holder until removing one roll pulls three others out. If rolls are stored in a damp basement or garage, paper can absorb moisture and mildew, so move gift wrap to a dry indoor location. A closet corner is often more suitable than climate-variable storage.
Keep rolls vertical in a narrow holder that supports them without crushing and leaves each pattern visible. Cap the collection at the number of rolls that can be removed one at a time; if pulling one roll drags three others out, edit or widen the holder. Paper belongs in dry indoor storage. A damp basement or climate-variable garage can warp paper, encourage mildew, and turn a neat seasonal stockpile into unusable material.
Build one portable wrapping kit for the supplies you touch every time
Keep tape, a pen or marker, gift tags, measuring tape if you use it, and safe scissors in one small handled caddy or box that can move to the table. Restock it from reserve supplies rather than keeping multiple half-used tape rolls in every room.
In homes with children, the portable kit should not leave sharp tools accessible after wrapping. Return scissors, craft knives, and replacement blades to a secure adult-controlled location when the session ends.
Test the kit by wrapping one ordinary gift away from the storage area. You should be able to finish with the caddy plus the chosen paper or bag, without making repeated trips for tape, a pen, tags, or another basic tool. Anything needed almost every session belongs in the kit; specialty punches, large ribbon collections, and reserve tape can stay in secondary storage. Return sharp tools to secure adult-controlled storage immediately after the test.
File gift bags and tissue instead of folding them into a heap
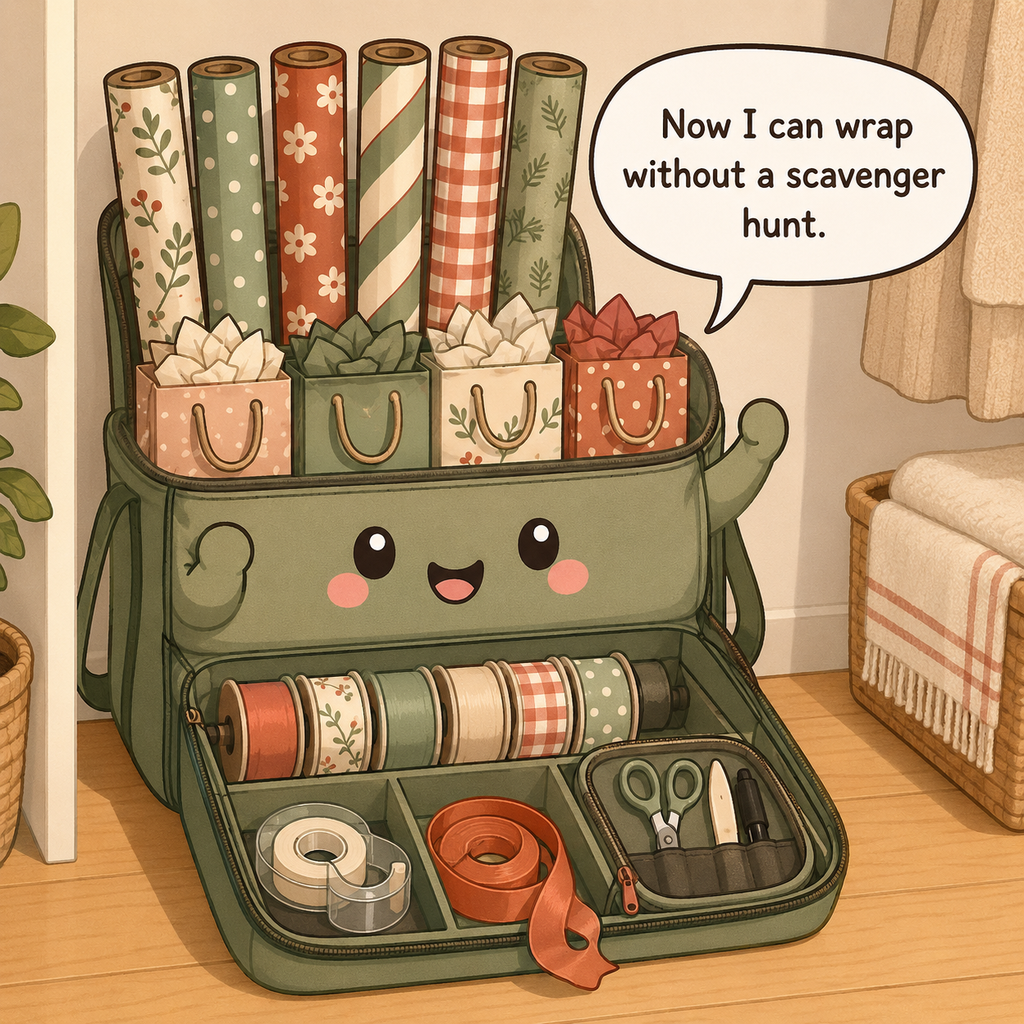
Store gift bags upright by size in a magazine file, narrow bin, or shelf section so handles stay contained and each bag can be pulled out individually. Keep tissue paper flat in a portfolio, drawer, or wide folder rather than cramming it into a deep basket where it tears and wrinkles.
Fold reusable bags neatly only as much as needed to fit the file; do not create tight creases in structured bags that damage their shape. Keep a small limit on saved bags so the file closes and handles do not spill into neighboring storage.
File bags by size with handles tucked inside their section and keep tissue flat in a portfolio, drawer, or wide folder. This protects shape while making each piece visible without digging. Set a real capacity for saved bags: when the file is full, use or release older ones rather than starting a second mixed pile. Keep specialty bags only if their future use justifies the space, not merely because they once carried a gift.
Tame ribbon by giving it a stopping point
Keep ribbon spools on a dowel, in a divided box, or upright in a bin with the loose end tucked or clipped so it cannot unwind. Group by ribbon type or width if that helps you choose quickly. For loose lengths, wrap them around flat cards rather than stuffing them into a knot.
Do not use a dispenser rod so long or tightly packed that replacing one spool requires unloading the whole system. A simple box with visible spools is often easier to maintain than a complex display.
Give ribbon a mechanical stop. Spools can sit on a short dowel, in a divided box, or upright with the loose end tucked under itself or held by a reusable clip. Loose ribbon lengths store better around flat cards than in a tangled bag. Keep the system simple enough that a new spool can be added without dismantling the holder; an elaborate dispenser that is never rewound will fail faster than a plain visible box.
Put tiny accessories into tiny boundaries
Use a shallow divided box for bows, tags, gift-card envelopes, stickers, and small embellishments. Keep one category per compartment and avoid large deep bins where delicate bows are crushed. Label compartments only when their contents are not obvious.
Keep small sharp fasteners, pins, magnets, button batteries in light-up gift items, or other hazardous accessories secured from children. Do not assume a craft organizer is child-resistant because it has a lid.
Use shallow compartments for bows, tags, stickers, gift-card sleeves, and other small accessories so delicate pieces are not crushed. Separate hazardous tiny items—pins, blades, strong magnets, button batteries from light-up novelties—from child-accessible craft supplies. A snap-lid craft box is not automatically child-resistant. If a small accessory carries its own warning or storage instruction, keep that information with it rather than decanting everything into anonymous compartments.
Use the door and under-bed space before sacrificing a whole closet shelf
A slim over-door organizer can hold lightweight bags, tissue, ribbon, and tags; an under-bed container can hold flat bags, paper, and seasonal wrap if the space is dry and the box slides easily. Renters can use over-door and freestanding options rather than drilling wall racks.
Do not hang heavy cutting tools or overloaded supply bins from a lightweight door organizer. Keep sharp tools in a safer adult-controlled spot and make sure any under-bed box has a lid if dust is a problem.
Use under-bed and over-door space for lightweight, dry supplies only when retrieval stays easy. A lidded under-bed box protects flat bags and seasonal paper from dust; an over-door rack can hold tissue or ribbon if the door still closes and the rack stays within its load rating. Renters can use these no-drill options instead of sacrificing a closet shelf. Heavy tools and sharp blades should remain in stable secure storage elsewhere.
What sends gift wrap supplies back to clutter
Do not store paper wrap in a damp basement or garage, let ribbon ends trail loose, crush bags in a deep pile, or leave scissors and craft knives mixed with child-accessible bows and tags. Avoid buying a giant wrapping station when a vertical roll holder and one portable kit solve the actual problem.
Another mistake is saving every scrap and gift bag indefinitely. Let the container set the limit: when the bag file or ribbon box is full, use or remove supplies before adding more.
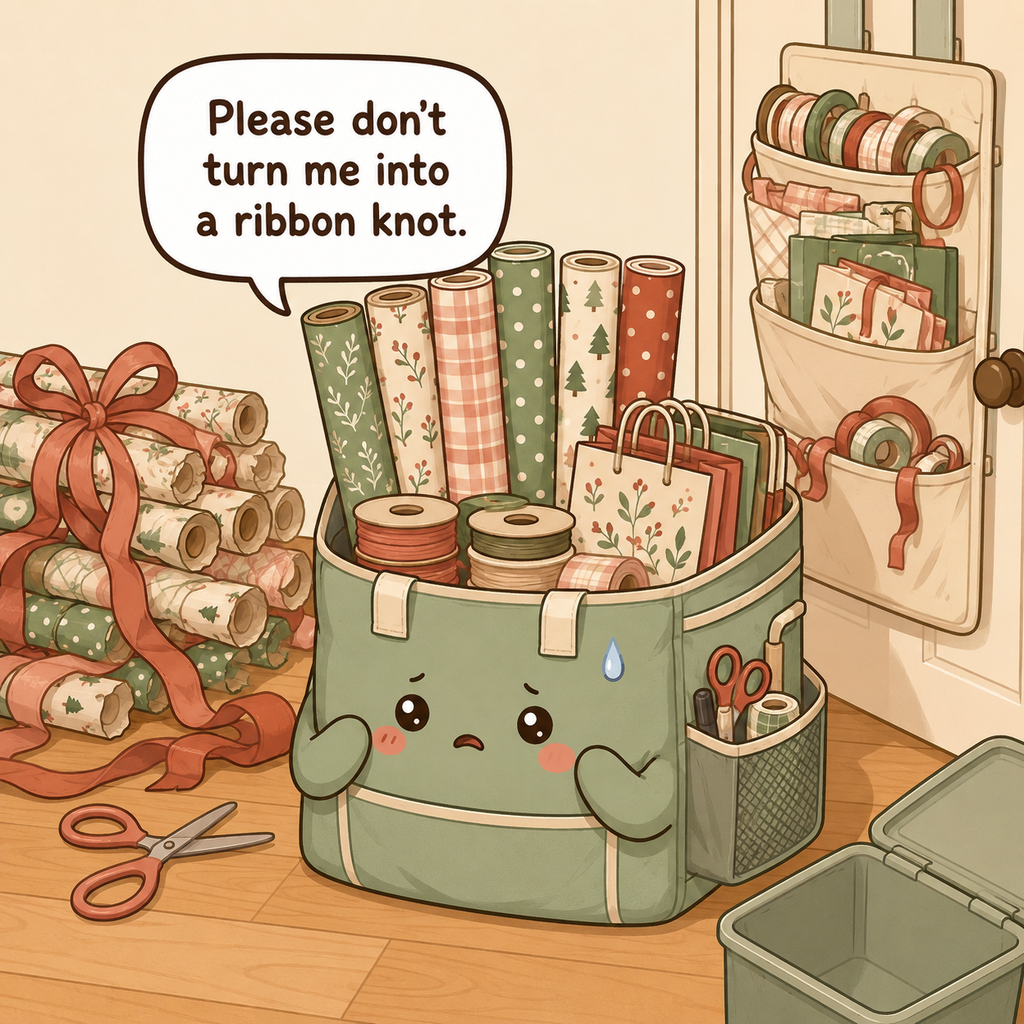
When gift-wrap storage falls apart, look for the shape that has lost its boundary. Escaping rolls need a tighter vertical holder, crushed bags need a file, ribbon knots need clipped ends, and scattered tools need a portable kit with a return step. Do not respond by buying a giant craft station unless the home genuinely has room and the wrapping volume warrants it. Most small-space failures come from mixing shapes, not from insufficient furniture.
The seasonal reset
After a major gift-giving season, return tools to the portable kit, secure sharp items, re-roll paper, tuck ribbon ends, file reusable bags, and recycle or discard damaged scraps according to local rules. Note which basic supplies actually ran out before buying more.
Once or twice a year, review seasonal wrap that has not been used and reduce duplicates. A small, visible collection is easier to use than a dedicated closet shelf full of forgotten paper.
Use the post-season reset to verify that every storage shape still works: rolls come out one at a time, bags stand without being crushed, tissue lies flat, ribbon ends are contained, and the portable kit is complete. Remove damaged supplies before they disappear into the next holiday cycle. Check that under-bed boxes still slide freely and over-door systems still let the door close normally; storage that now interferes with the room should be reduced or relocated.
Sharp-tool storage
- Store scissors and craft knives with blades protected and inaccessible to children.
- Do not place sharp tools loose in an under-bed bin or hanging pocket where someone reaches without seeing them.
- Keep adhesives and specialty products in their original labeled containers when the label carries safety instructions.
Renter-friendly option
Use an under-bed wrap box, over-door pocket organizer, slim freestanding cart, or removable hooks rather than wall-mounted dowels. Keep scissors and craft knives in a closed tool pouch inside the system.
30-second success check
- Each wrapping-paper roll can be removed without pulling several others out.
- Gift bags and tissue stay filed without being crushed or folded into a deep heap.
- The portable kit can complete a normal wrapping session without repeated supply searches.
- Scissors and craft knives return to protected adult-controlled storage after use.
- Paper remains dry, and under-bed or over-door storage still slides, closes, and clears the room normally.
Questions that come up
Frequently asked questions
Part of Paper, Electronics & Small-Item Systems — 7 guides.