
The short answer
Clear the walkway first, then measure each wall, rod, shelf, corner, and door separately instead of treating the closet as one rectangle. Assign rods by garment length and frequency, keep shoes and heavy storage low, use doors and vertical gaps only for lightweight items, create one small decision station for clothes in limbo, and rotate seasons in small batches so the floor never becomes storage.
What to gather before you start
- A tape measure and painter's tape
- A donation bag and a repair basket
- Slim matching hangers you already own or can reuse
- Shelf dividers or shallow open bins
- A freestanding shoe rack or stackable shoe shelves
- Removable over-door hooks or a hanging organizer
Measure first. Buy only the pieces that solve a specific access problem.
Empty the walkway before you organize a single hanger
Remove hampers, shopping bags, shoe piles, boxes, and clothing from the floor until you have a safe path from the door to every active zone. Do not begin by rearranging the rods while you are still stepping over storage. A clear walkway gives you room to measure and shows which categories have expanded beyond their assigned footprint.
Keep the path clear throughout the project so no one has to climb over bins or unstable stacks. If tall freestanding cabinets or dressers sit inside the closet, check their stability and anchor tip-prone furniture according to the manufacturer's instructions.
Start with the walking path because it is the closet's non-negotiable working space. Remove floor bins, loose shoes, and bags until you can enter, turn, and open doors or drawers normally. Then measure each wall separately, including corners, door swings, drawer pull-out space, hanging drop, and the reach height of the people who use it. Those measurements reveal which zones can actually accept shelves, double-hang rods, a dresser, or only shallow accessories.
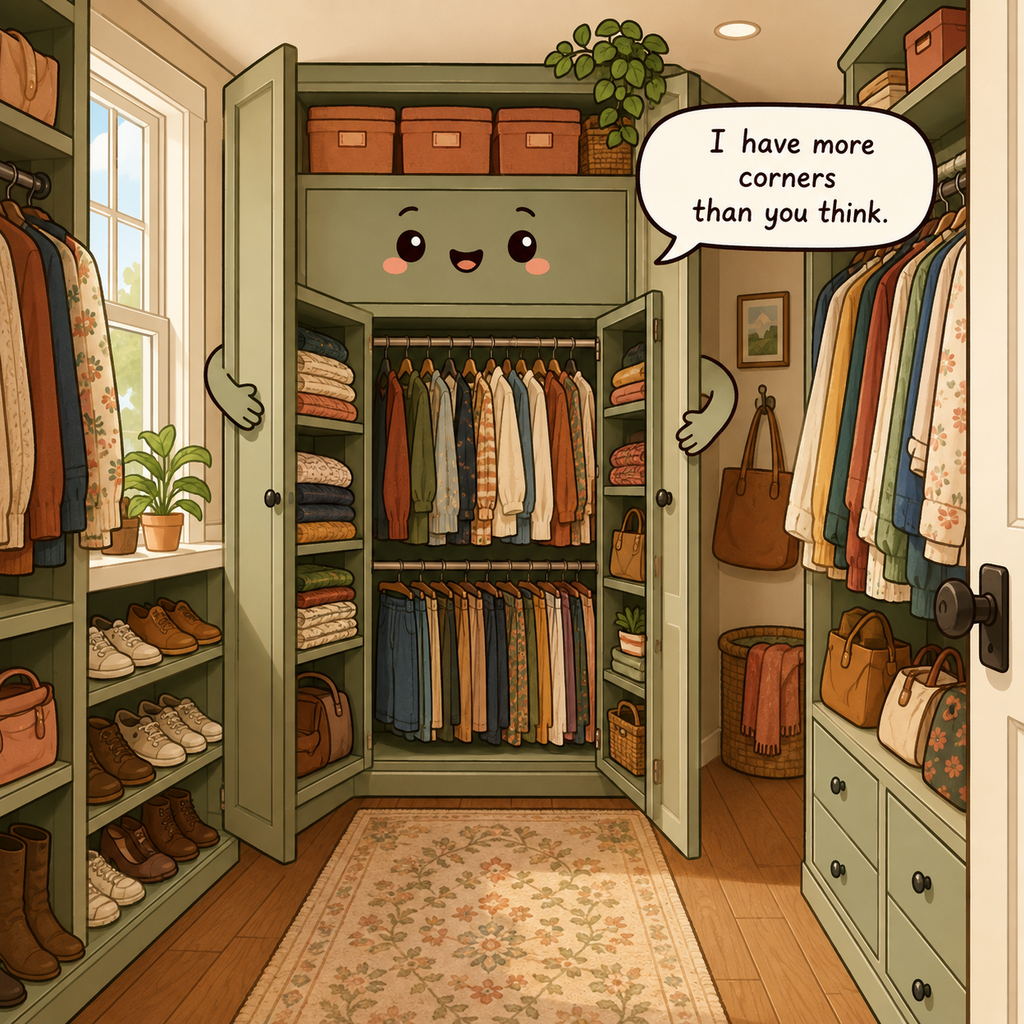
Measure it as separate zones, not one big rectangle
Measure each wall width, rod length, shelf depth, door swing, corner, sloped ceiling, and low obstruction. Record where long clothes need vertical drop and where drawers or doors require opening clearance. A system that fits the room dimensions but blocks a closet door or corner is not usable.
Divide the closet into functional zones based on those measurements: long hanging, short hanging, folded clothing, shoes, bags, and seasonal reserve. Renters can use freestanding shelves, tension rods rated for the load, over-door storage, and removable hooks where permanent installation is not allowed.
Give every wall a capacity based on its real function. Long hanging needs uninterrupted drop; shirts and folded pants can use double-hang space; shelves work for folded categories only when stacks stay visible and reachable. Avoid averaging the whole closet into one big number. A wall with a sloped ceiling or door return may be poor hanging space but excellent for low shoes, while a clear wall may be the only place tall garments can hang without dragging.
Give rods jobs instead of letting every rod hold everything
Assign one rod to shirts and jackets, another to pants or skirts, and a full-drop section to dresses or long coats if your wardrobe needs it. Group within each rod by frequency or category so daily pieces sit nearest the entrance. Remove empty dry-cleaner hangers and duplicates that consume rod space.
Do not install a second hanging rod across a long-garment zone simply to create more capacity. Double-hang only where both upper and lower garments fit without dragging on the floor or crushing storage below, and follow the system's mounting and load instructions.
Assign rods by garment length and use frequency before adding another tier. Keep dresses, coats, and jumpsuits where they can hang full length, and reserve double-hang sections for shirts, skirts, and folded-over pants. Let hangers slide freely enough that garments can be removed without wrestling. If a second rod would make lower garments touch the floor or block drawers, keep a single rod there and use another zone for shorter clothing.

Put shoes, bags, and folded clothes where gravity helps you
Keep heavy shoe boxes, dense folded knits, and bulky bags on lower shelves. Put lightweight handbags or seasonal accessories higher in labeled bins, but avoid unstable top-shelf stacks. Store shoes in one visible row or low cubbies when possible so pairs do not migrate into the walkway.
Fold clothing so categories remain visible without tall compression stacks. Use shelf dividers to keep sweater stacks from leaning, but keep stacks low enough that removing the bottom item does not collapse the shelf. Heavy storage should never require an awkward overhead lift.
Put dense footwear, handbags with structure, and folded heavy knits lower where retrieval is stable, while light seasonal bins can use higher shelves. Avoid stacking bags so high that you pull several down to reach one. If a dresser is inside the closet, verify that its drawers open fully without narrowing the walkway and anchor tip-prone furniture according to the manufacturer's instructions. Children should never need to climb shelves or drawers to reach their things.
Use the door and vertical gaps for thin things
Use over-door hooks, a slim shoe organizer, belt or scarf rack, or narrow wall hooks for lightweight accessories. Keep the door hardware and full swing clear. Vertical gaps beside shelves can hold a narrow hamper, ironing board, or small hook rail if the items do not intrude into the walkway.
Do not hang overloaded bags from removable hooks beyond their rated capacity. In a rental, use no-drill accessories that can be removed without damage, and avoid adhesive products on finishes the manufacturer warns against.
Use the back of the door and narrow wall strips for belts, scarves, ties, or other light flat accessories only when the hardware does not interfere with closing. In a rental, over-door racks and properly rated removable hooks can add function without drilling. Check the product's surface and load instructions before relying on adhesive hardware. Keep heavy bags and bulky bins off these thin zones; they belong on stable shelving or the floor-level shoe area.
Create a small decision station so clothes stop landing on the floor
Give worn-once clothing one hook or short valet rail, and give donations one small bag or basket. Keep both intentionally small. Clothes that are clean enough to wear again should not occupy a chair-sized pile, and donations should leave when the container fills.
Keep dirty laundry in a ventilated hamper with a fixed footprint. Separating worn-once, dirty, and donate categories stops the closet floor from becoming the only place where undecided clothing can go.
Make the decision station physically smaller than the daily wardrobe. One rewear hook or short rail is enough for clothes that are neither freshly clean nor ready for laundry, and one donation bag gives outgoing clothes a clear path. Dirty laundry needs its own ventilated hamper footprint. If the rewear zone grows into a second closet, make a decision at the reset rather than adding more hooks; the station exists to close decisions, not postpone them indefinitely.
Make the seasonal swap smaller than a full makeover
Rotate only the categories that truly change with weather: heavy coats, swimwear, bulky sweaters, or specific footwear. Store clean, fully dry off-season items in labeled containers suited to the environment and bring back only what fits and will be worn.
Do not empty the entire closet twice a year unless necessary. Small seasonal swaps protect the daily system and reveal which items survived a full season without being used.
Seasonal rotation should touch only the categories that genuinely change. Move bulky coats, swimwear, snow gear, or specialty shoes as the weather changes, and keep year-round basics in place. Store off-season clothing clean and completely dry in containers suited to the storage environment. Before putting a seasonal bin away, label the contents from the aisle-facing side and remove items that were not worn during the season unless there is a clear reason to keep them.
What sends a walk-in closet back to chaos
Do not use the walkway for bins, put heavy storage on the highest shelf, or add hanging capacity without checking garment drop. Avoid unanchored tall furniture, overloaded tension rods, and so many shoe boxes that pairs are invisible.
Another mistake is creating no home for clothes in transition. One small rewear hook and one donation container prevent the floor from absorbing every undecided item.
Common failures point to a capacity problem more often than a container problem. A narrowing walkway means floor storage has crossed the boundary; hangers jammed shoulder-to-shoulder mean rod capacity is exhausted; unstable high piles mean folded storage is too dense. Correct the overloaded zone first. Adding another rack into the walkway or a second layer of boxes on the top shelf only moves the same excess into a less usable and potentially less safe location.

The seasonal reset
At each seasonal change, clear the walkway, empty the donation container, move only the necessary seasonal categories, and check whether rods and shelves remain within their intended loads. Tighten loose hardware and verify furniture anchoring.
During ordinary weeks, reset the decision station and shoes in a few minutes. If the walkway starts narrowing, stop and edit before adding another organizer.
At the seasonal reset, restore the walkway, empty the donation bag, clear the rewear hook, and check that every drawer and door can open fully. Inspect tall furniture anchors, shelf brackets, and rod supports for looseness before reloading. Then make the smallest seasonal exchange needed and leave some free hanging and shelf space. A closet with no spare capacity starts failing as soon as clean laundry returns, so a little visible emptiness is part of the system.
Closet furniture & load safety
- Keep the walkway clear and heavy storage low.
- Anchor any tip-prone dresser or tall freestanding unit according to its manufacturer instructions.
- Do not overload tension rods, removable hooks, shelves, or high bins beyond their ratings.
Source: U.S. CPSC — Anchor It
Renter-friendly option
Use freestanding drawers, rolling racks, over-door storage, removable shelf dividers, and tension accessories before installing a drilled closet system. Keep the walkway and existing sprinkler, vent, or utility access clear.
30-second success check
- The walkway remains clear from the door to every active zone.
- Each rod is assigned by garment length and lower storage does not crush hanging clothes.
- Drawers and doors open fully without narrowing the path.
- The rewear and donation decision stations remain intentionally small.
- Heavy storage is low and any tall or tip-prone furniture is secured appropriately.
Questions that come up
Frequently asked questions
Part of Closets, Clothing & Personal Storage — 13 guides.