The short answer
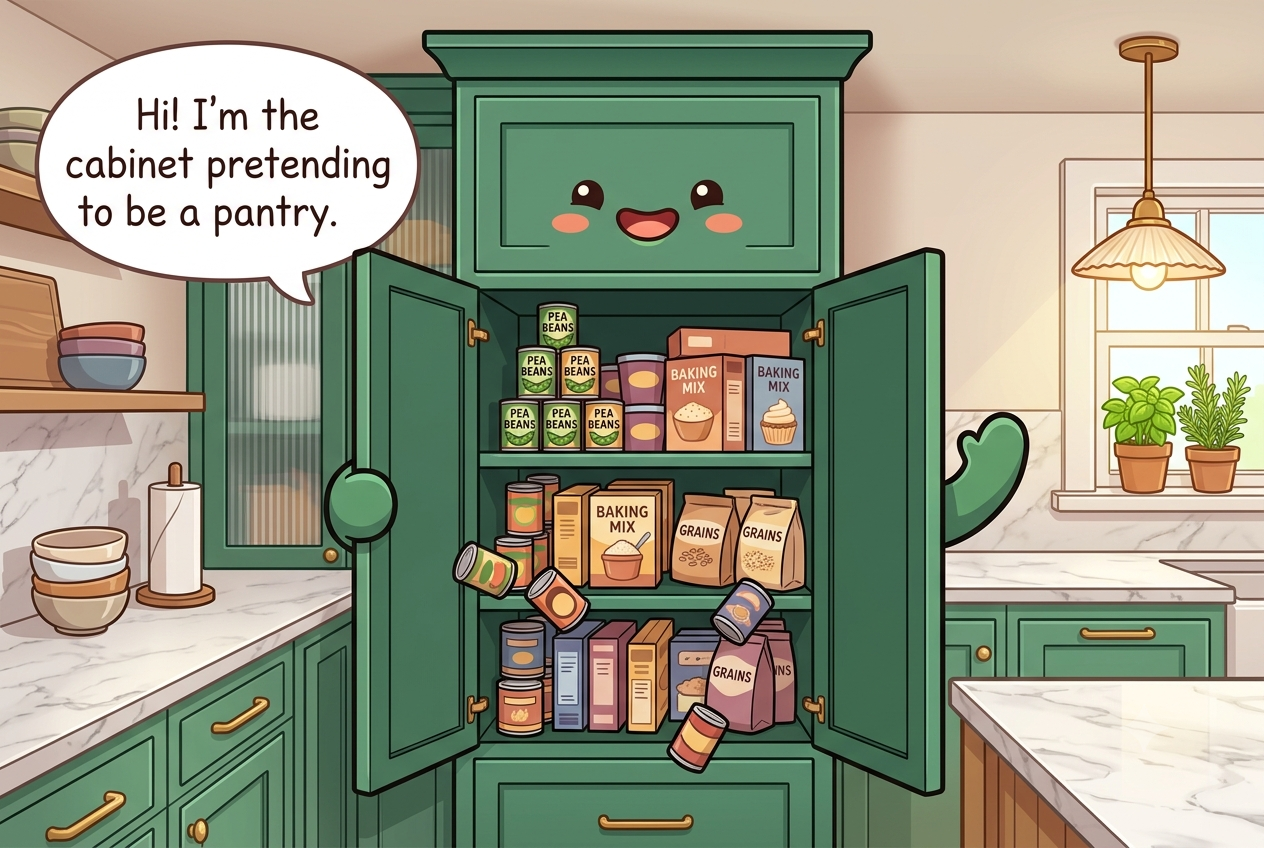
Group pantry food by how you cook, then make deep shelves retrievable with handled bins, turntables, or risers rather than hidden back rows. Put heavy jars and cans low, keep older packages in front of newer ones, retain cooking instructions when decanting, and leave enough space to see what needs using next.
What to gather before you start
- A few open bins sized to the shelf depth
- A can riser or a shallow tiered shelf
- A turntable for oils, sauces, or condiments
- Clip-on or freestanding shelf dividers
- Labels for bins and zones
- A marker for writing dates on decanted containers
Measure first. Buy only the pieces that solve a specific access problem.
Empty it out and check every date
Remove food shelf by shelf and group it on the counter. Check best-by and use-by information, package integrity, signs of pests, moisture, and anything with an unknown identity. Dates are not all safety cutoffs, so use the package guidance and appropriate food-safety advice rather than discarding food solely because a quality date has passed.
Wipe crumbs and sticky spills before reloading, including shelf corners and hinge areas where pests can find residue. Make a short 'use soon' group for food that is still appropriate to eat but close to its quality date or already open. Do not return badly damaged, leaking, swollen, or pest-contaminated packages.
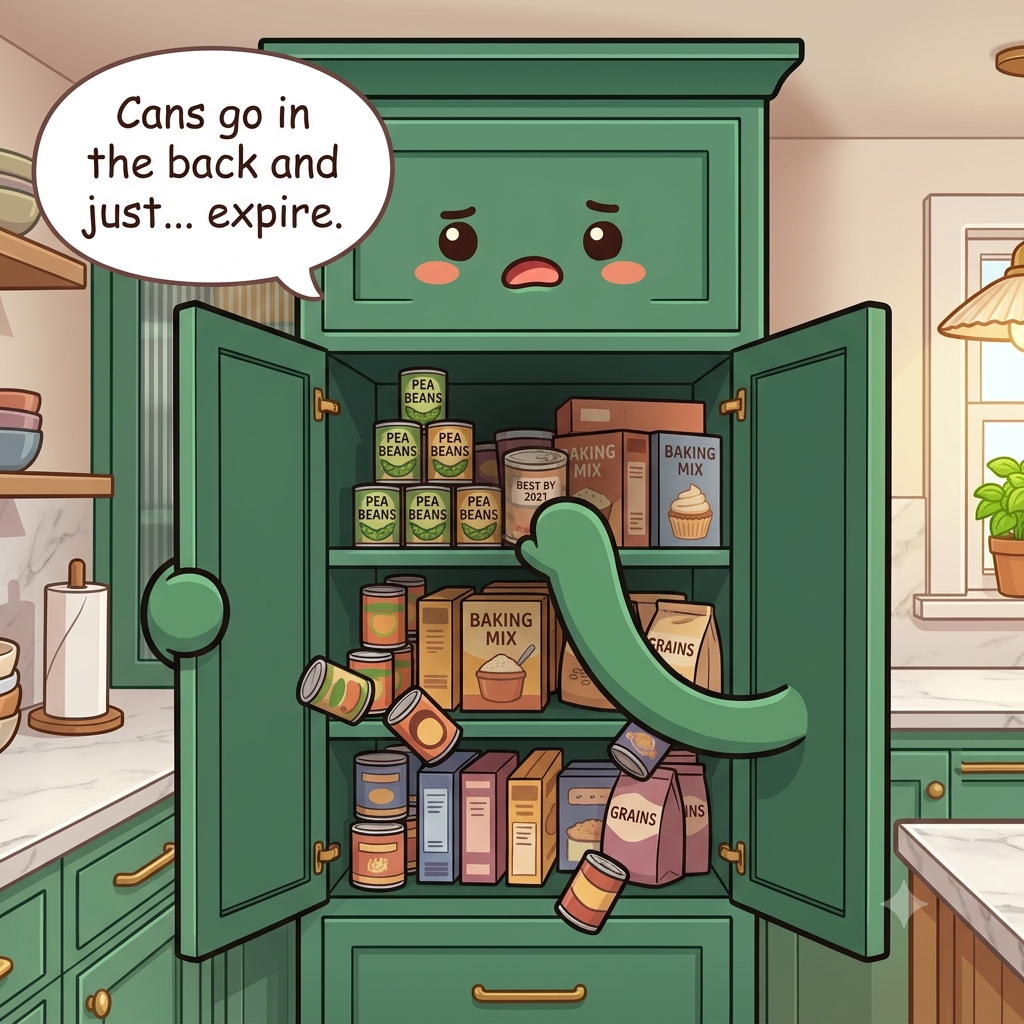
Use package condition and food-specific guidance along with date labels. USDA notes that many shelf-stable dry foods remain safe for long periods when properly stored but can lose freshness and quality; its FoodKeeper resource gives item-specific storage times. Discard leaking, swollen, pest-damaged, moldy, or otherwise compromised packages rather than treating every printed date as the same kind of safety cutoff. For opened dry goods, note whether the original closure still seals well. A torn inner bag or box that no longer protects the food can be transferred to a clean food-safe container while its identity and relevant date information are retained.
Group food the way your household actually eats
Create broad meal-based zones such as breakfast, snacks, baking, grains and pasta, canned meal starters, and sauces. Keep frequently paired ingredients near one another if that makes dinner faster. A small cabinet pantry usually works better with four or five broad categories than with a separate bin for every food type.
Put child-access snacks only where you intentionally want children to reach them, and keep alcohol, supplements, sharp tools, or household chemicals out of the food cabinet. If someone in the household has a serious food allergy, use a storage plan that clearly separates allergen-safe foods according to that household's medical guidance.
Keep the zones broad enough to support real meals: breakfast, snacks, baking, grains and pasta, canned meal components, or whatever mirrors the household's cooking. If a category is too small to justify a bin, combine it with a related zone rather than creating a labeled container for every ingredient.
Beat the deep shelf so nothing hides at the back
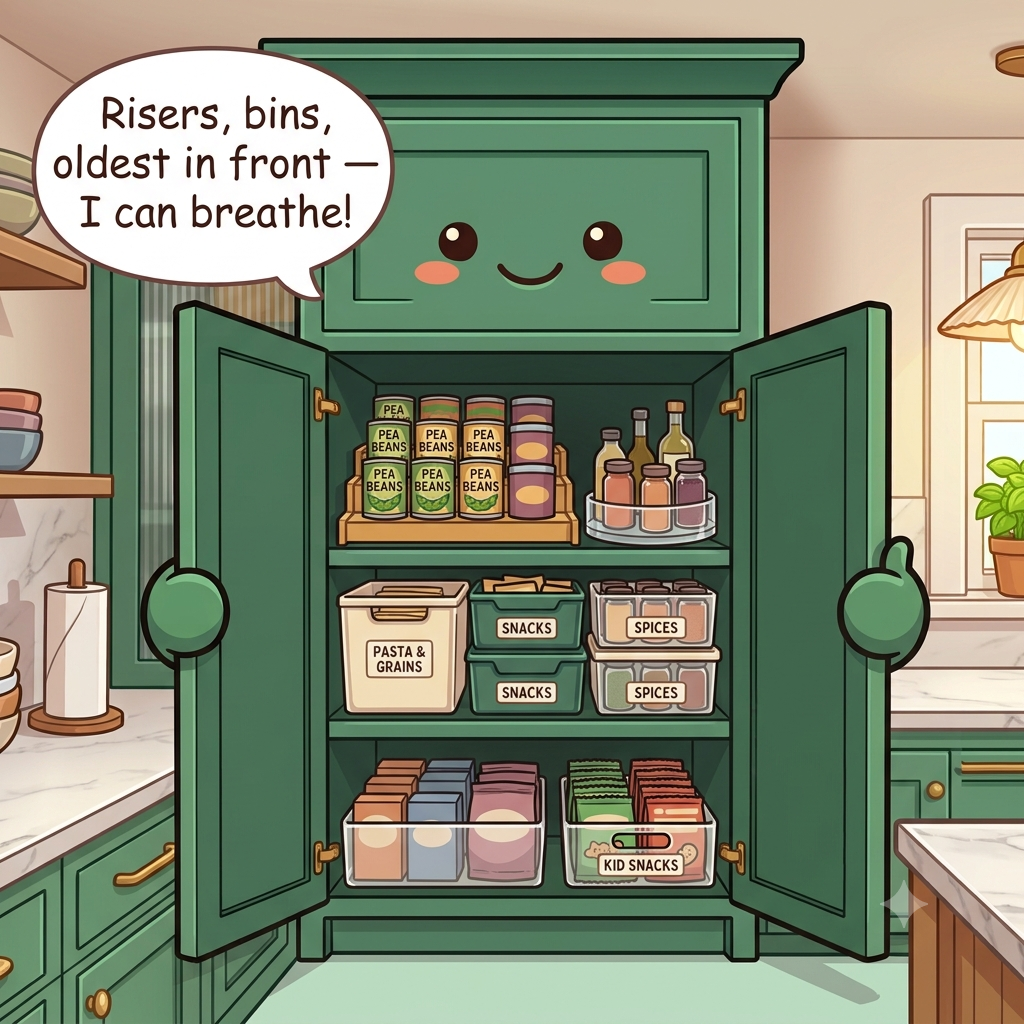
Use a riser for cans and jars, a turntable for bottles, or a handled bin for packets so the back comes forward as a unit. Avoid a front row of tall products that completely hides a second row. Measure the shelf and door opening before buying organizers, especially in a narrow cabinet with hinges that reduce access.
If a bin is deep, keep one category in it rather than mixing unrelated food. Clear or open-front containers help you see when stock is low. Pull-out trays can work well in deep cabinetry, but follow cabinet and hardware weight limits, particularly for canned goods and glass jars.
Choose the access tool for the package shape. Risers expose cans, turntables bring bottles around, and handled bins pull packets forward as one category. Measure both shelf depth and door opening first; a deep organizer that cannot clear the hinge or frame only creates a new obstacle. Check the deepest zone from your normal standing position: if a package label cannot be read and the category cannot be pulled forward as one unit, the shelf is still too deep for loose storage. Short cans may need a riser, packets may need a handled bin, and tall bottles may need a turntable; choose the tool that exposes the hidden back rather than one matching container style for every category.
Load by weight and by who needs to reach it
Put heavy cans, jars, flour, and bulk staples on lower sturdy shelves where they can be lifted without reaching overhead. Place lightweight snacks or paper goods higher. Keep everyday food between roughly waist and eye level for the people who use the pantry most, and reserve awkward shelves for light backstock.
Do not overload adjustable shelves. If a shelf bows or shelf pins look stressed, reduce the load and check the cabinet manufacturer's guidance. Keep glass containers away from shelf edges and do not give young children access to heavy jars they could pull down.
Keep heavy cans, jars, and bulk staples on lower sturdy shelves and lighter goods higher. Give frequently used food the easiest reachable shelf for the people who prepare it, while keeping items that should not be child-accessible out of a child's zone. If an adjustable shelf bows or its supports look stressed, reduce the load rather than adding another layer.
Keep oldest packages in front and the instructions attached
Use a simple first-in, first-out habit: when groceries come home, move the older duplicate to the front and place the newer one behind it. You do not need warehouse labels; you need enough visibility to notice the open or older package first. Keep a small use-soon area for ingredients that should be planned into meals soon.
If you decant rice, flour, pasta, cereal, or other staples, label the container and keep cooking directions, ingredient information, allergen information, and any lot or date information you may need. Do not pour a new package onto an old residue without cleaning the container first; rotate rather than endlessly topping off.
Use simple first-in, first-out rotation when the same product comes home: older packages move forward and new backstock goes behind. When decanting, keep the ingredient name, allergen information, cooking directions, and useful date or lot information available. Clean and dry the container before adding a new package instead of pouring fresh food over old residue. If two packages of the same food have different cooking directions or formulas, do not combine them merely to save space. Keep each product's instructions and allergen information tied to the food it describes.
What breaks a deep pantry cabinet
Do not build a pantry out of identical opaque bins that hide quantity and dates. Avoid heavy glass or canned goods on high shelves, unlabelled decanted food, and a second hidden row that is never rotated. Do not store household cleaners or pesticides with food simply because the cabinet has room.
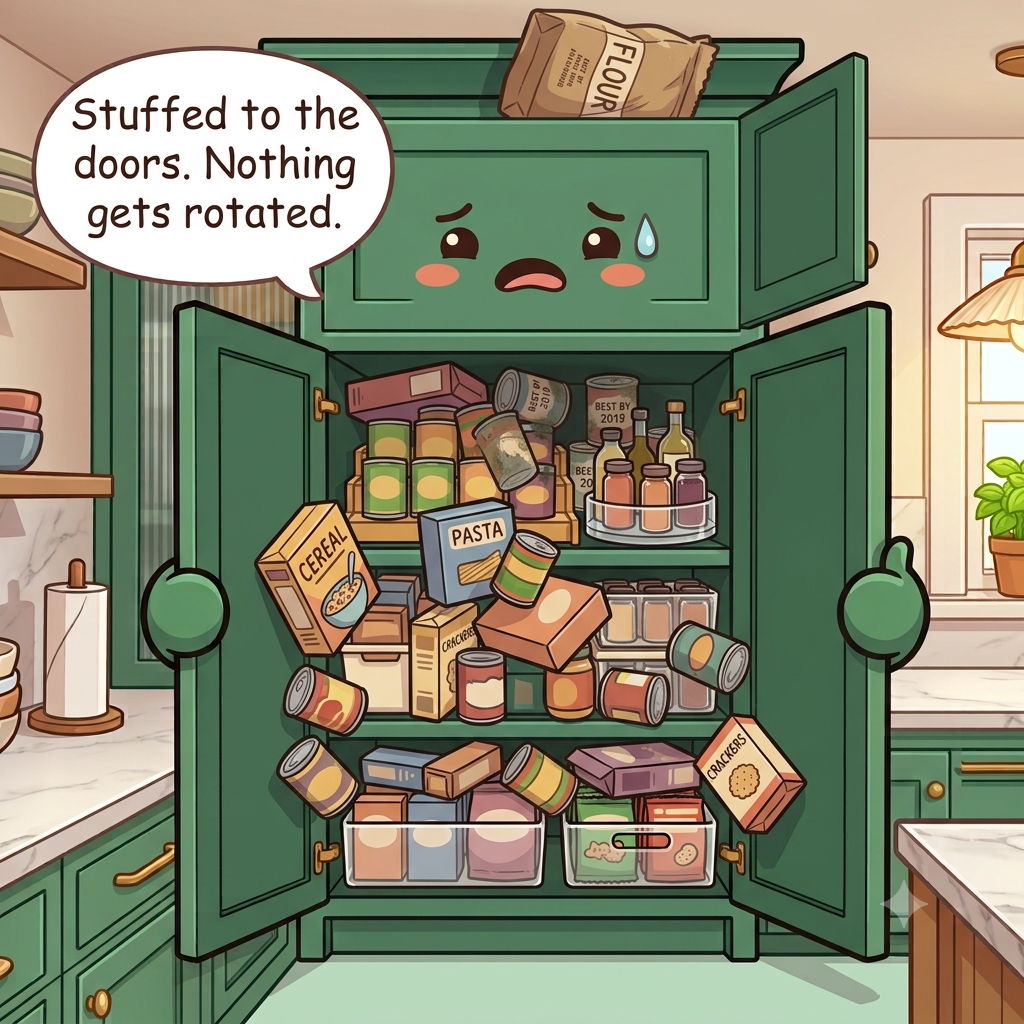
Another mistake is buying bulk quantities without a defined backstock boundary. If six packages do not fit in the assigned zone, the answer is usually to buy fewer, not add another layer at the back. Let shelf capacity regulate inventory.
Do not hide dates and quantities inside identical opaque bins, keep household chemicals with food, or place heavy glass and cans overhead. Bulk buying is only useful when the backstock fits its assigned boundary and can be rotated. If a category repeatedly expires in the back, buy less or move it to a more visible shelf. Keep pet food, cleaning products, and non-food chemicals in clearly separate storage so packaging cannot be mistaken during a rushed meal-prep moment. Food cabinets should remain easy to inspect for spills and pests.
The grocery-day reset
Before putting new groceries away, pull older duplicates forward, check the use-soon area, and wipe any new spills. Put the new package behind the old one and consolidate only when labels, dates, and food-safety information will not be lost.
Once a month, empty one deep bin or turntable completely so forgotten packets cannot live underneath newer food. If a category repeatedly expires, reduce the quantity you buy or move it into a more visible position.
Use grocery put-away to test the system rather than re-sort the whole cabinet. If a new package has no place behind the older one, the category has exceeded its backstock boundary; if a deep bin contains food you forgot existed, the retrieval method is failing. Check for webbing, holes, spilled grain, or unexplained powder while older food is moved forward, and isolate affected food before the rest of the category goes back.
30-second success check
- Older duplicates are visible in front of newer backstock.
- Deep bins or turntables bring one whole category forward instead of creating a loose hidden second row.
- Heavy jars and cans stay on stable lower shelves.
- Decanted food keeps the identity, date, cooking, and allergen information the household may need.
Questions that come up
Frequently asked questions
Part of Pantry, Fridge & Food Storage — 4 guides.