The short answer
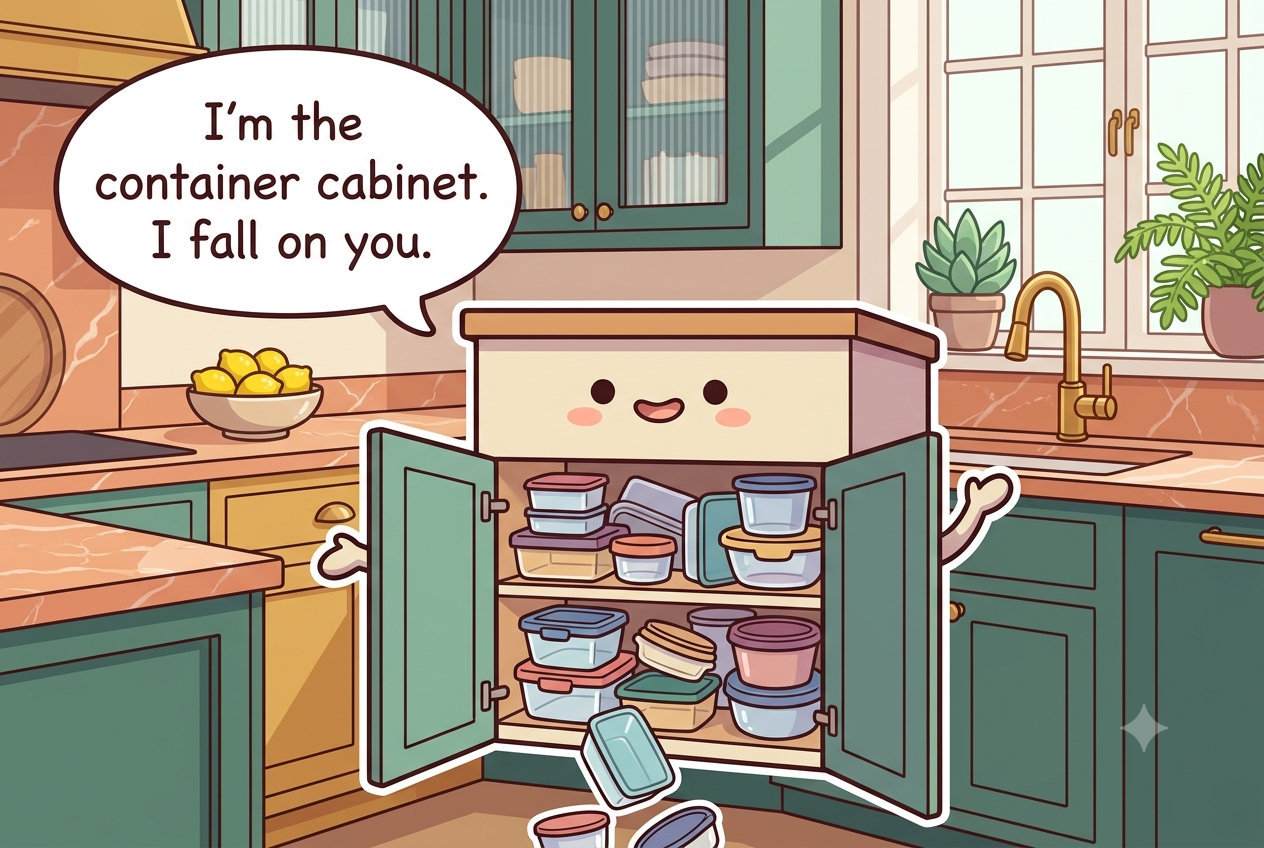
Match every container to a lid first, then group compatible shapes and sizes. Nest bases without over-stacking, file lids upright in a divider or bin, keep everyday sizes at the front, and remove damaged or truly orphaned pieces so opening the cabinet never triggers an avalanche.
What to gather before you start
- A clear counter to lay everything out on
- A lid organizer with adjustable dividers, or a narrow bin
- One or two shallow bins to corral bases by size
- Non-slip liner for the shelf
- A box or bag for the orphans that are leaving
- Labels, if you store some sets as a set
Measure first. Buy only the pieces that solve a specific access problem.
Match every base to a lid and cull the orphans
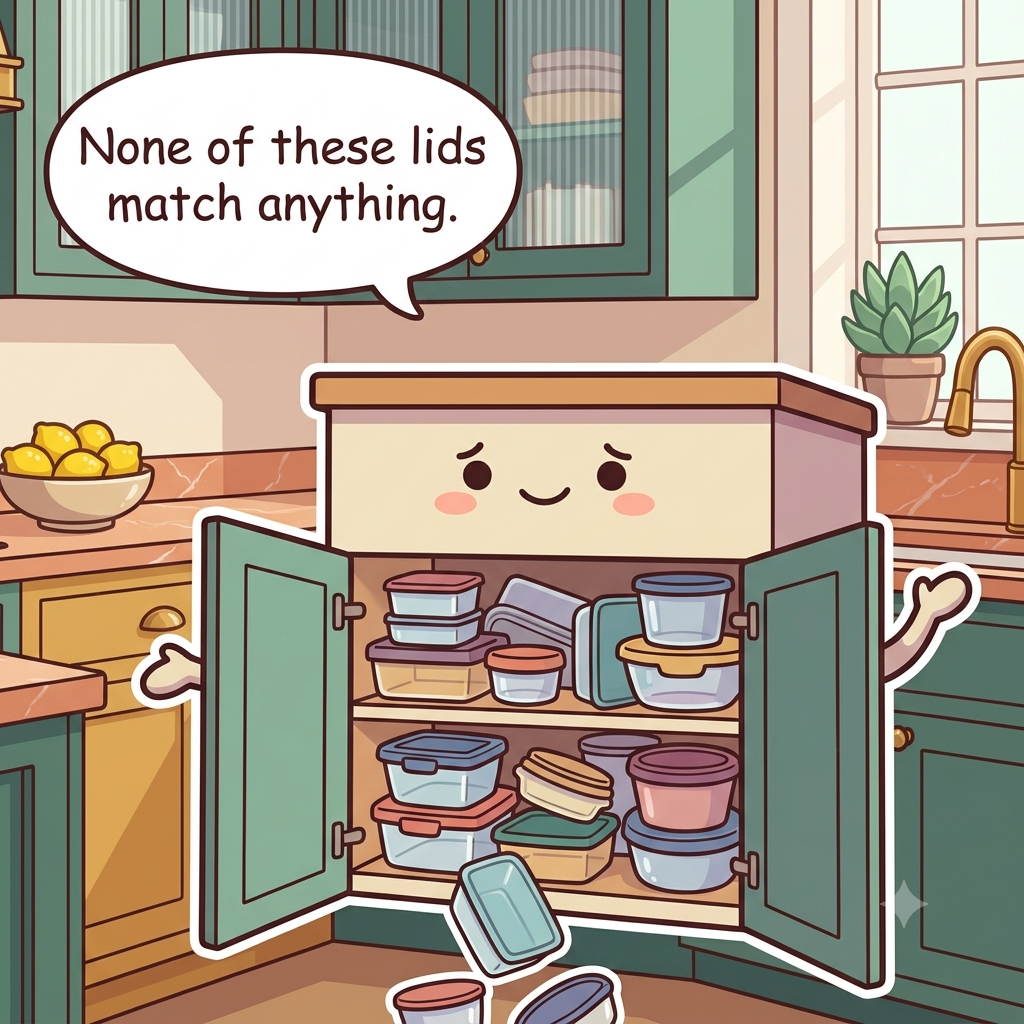
Take every food container and lid out at the same time. Match each base to a lid and test that the lid seats correctly; do not assume two pieces belong together because the colors look similar. Set aside cracked, badly warped, or permanently stained containers that you no longer trust for food, and recycle them only if your local program accepts that plastic type.
Give true orphans a short grace period only if a matching piece may be in the dishwasher or refrigerator. After the next full dishwashing cycle, remove lids and bases that still have no partner. Keeping mystery pieces consumes the exact space you need to make the useful set easy to put away.
Do the matching pass when the dishwasher and refrigerator are as empty as practical so fewer pieces are temporarily missing. Check the rim and closure as well as the visual match: a lid that no longer seals correctly is not a useful partner. Keep one small temporary orphan spot only until the next wash cycle, then remove pieces that still have no mate. If a container has deep scratches, a damaged rim, or a lid that no longer closes as designed, follow the manufacturer's replacement guidance rather than keeping it solely because the size is convenient.
Commit to one shape system
You do not need one brand, but limiting the active cabinet to a small number of compatible footprints makes nesting and lid storage much easier. Rectangular containers generally nest with rectangles; round containers with rounds. If you have several incompatible sets, choose the group you reach for most often and move specialty pieces to a separate zone.
Avoid replacing a functional collection just to make it match. Consolidate gradually as pieces wear out. The practical goal is predictable stacking and fewer lid families, not a perfectly uniform cabinet. Before buying more, check whether an existing container already handles the job.
Reduce the number of incompatible lid families before you reduce the number of containers. A collection with a few repeatable footprints nests more predictably and needs fewer separate lid zones. Replace pieces gradually as they wear out rather than discarding safe, functional containers simply to make the cabinet look uniform.
Store bases nested and lids upright
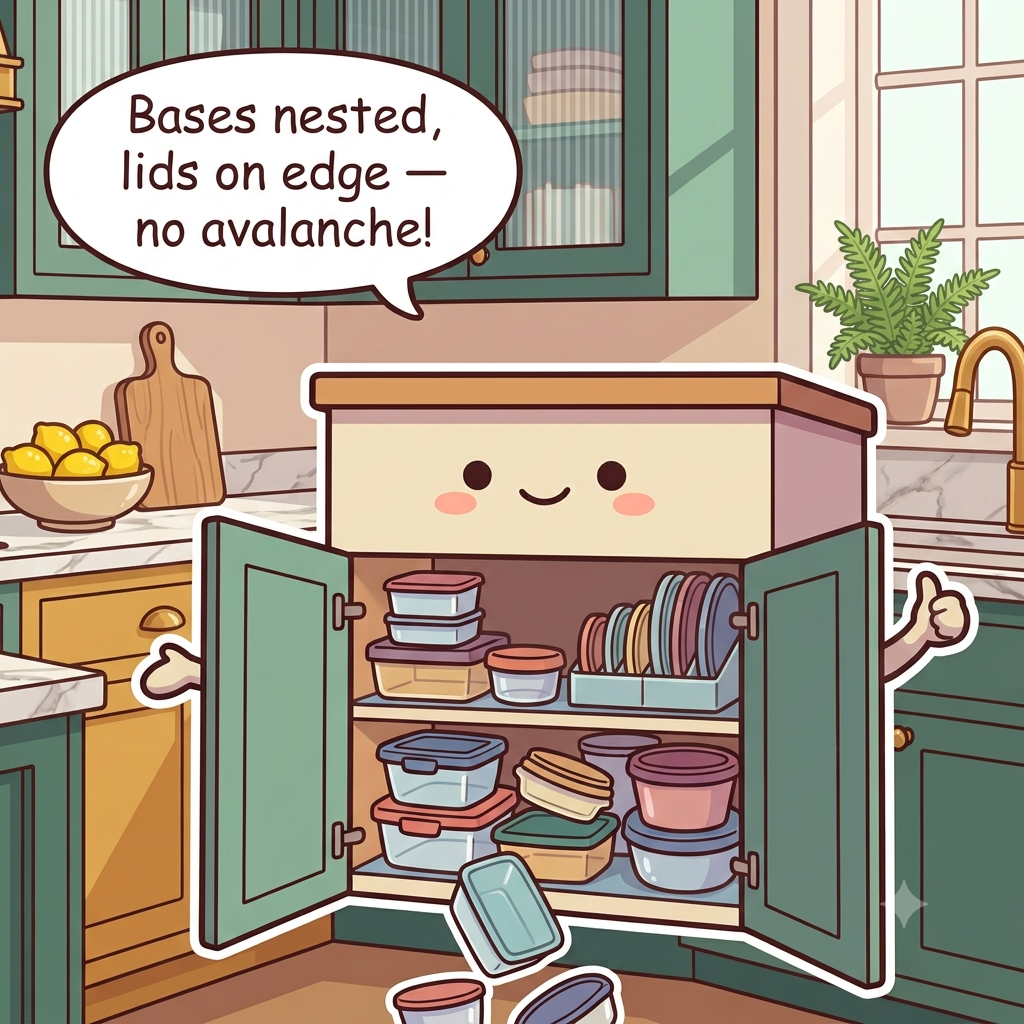
Nest clean, dry bases from largest to smallest, but keep stacks short enough that you can remove a middle size without unloading the entire cabinet. File lids vertically in a narrow bin, plate rack, adjustable divider, or purpose-built lid organizer. Arrange them by shape and size so the matching lid can be found at a glance.
If lids slide under the stack or fall behind it, the cabinet is too loose. Add a bounded lid zone rather than making the whole shelf the lid zone. Do not force freshly washed pieces together while damp; trapped moisture can create odors and makes the stack harder to separate.
Measure the shelf height before deciding how tall each nested stack can be. The right stack is short enough that a common size can be removed without rebuilding everything above it. File dry lids by shape in a narrow rack or bin and leave enough space for clean pieces returning from the dishwasher. Keep glass and heavier containers on a stable lower shelf where they can be lifted straight out. Lightweight plastic can occupy higher positions, but every stack should remain short enough to control with one hand.
Right-size the cabinet to what you use weekly
Count what leaves the cabinet during a normal week: lunch containers, leftovers, meal-prep portions, freezer portions, and one or two large family-size pieces. Keep enough for that routine plus a modest buffer, not every takeout tub that enters the house. Reusable takeout containers are only useful if they fit the same system and you actually reuse them.
If containers routinely sit unused for months, move specialty pieces elsewhere or let them go. The cabinet should close with room for containers that are temporarily in the refrigerator or dishwasher to return. A completely full cabinet on cleaning day guarantees overflow when the missing pieces come back.
Use a normal week as the inventory test. If the cabinet still has enough open room for the containers currently holding leftovers or waiting in the dishwasher, the active set is close to the right size. If every returning piece creates an avalanche, edit takeout containers and specialty sizes before adding another shelf or bin.
Put everyday sizes at the front
Place the sizes you use most at an easy-to-reach level and nearest the cabinet opening. Larger party containers and rarely used specialty shapes can sit farther back or higher if they remain easy to retrieve. Keep very large lids with their bases if separating them makes identification difficult.
Use a pull-out bin or low-sided basket when the cabinet is deep. The container should bring the whole category forward without requiring you to kneel and reach behind a front row. Label only when it helps household members return items correctly; a clear physical shape often works better than a detailed label.
Keep the sizes you reach for most at the cabinet opening and place specialty or oversized pieces farther back only if they remain easy to lift out. In a deep cabinet, a low-sided pull-out bin can bring the whole category forward. Large lids that are hard to identify may be stored with their bases rather than forced into the general lid file.
Why food container cabinets slide into chaos
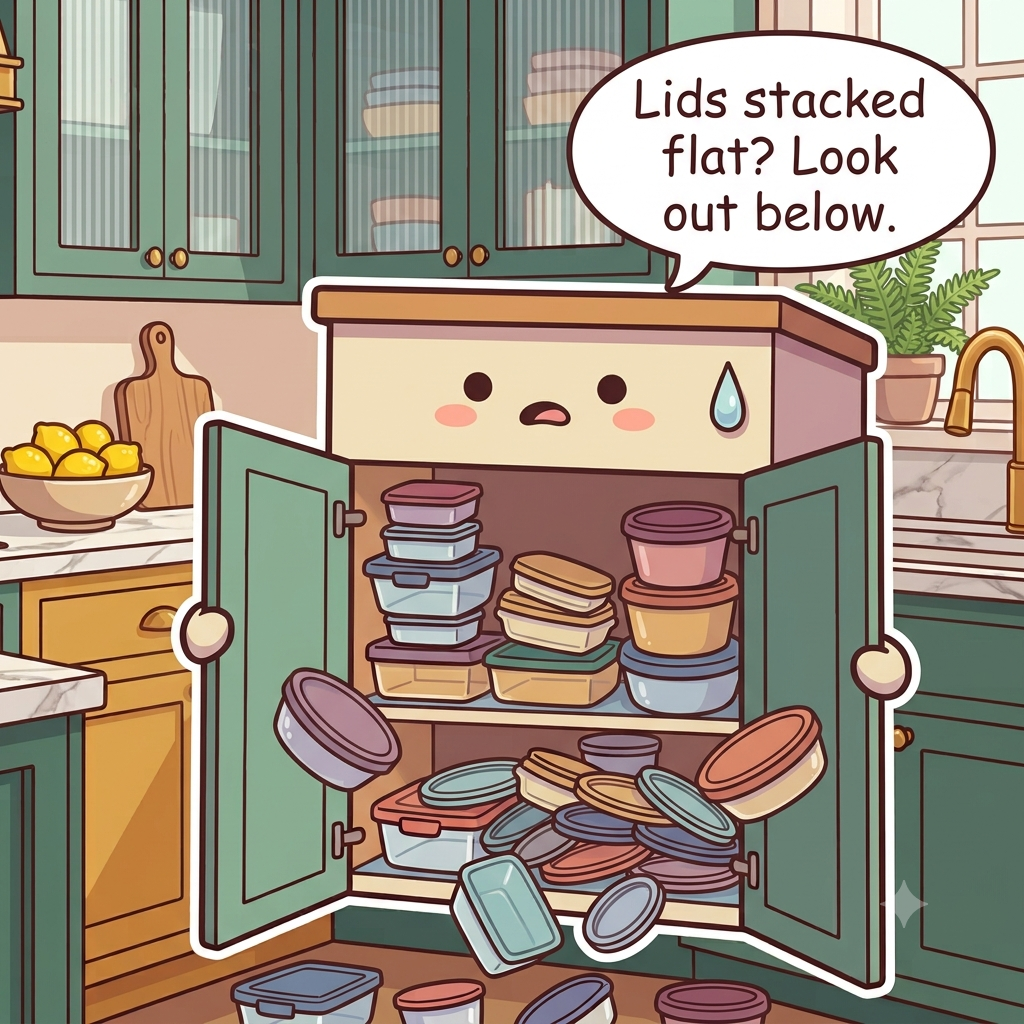
Do not store lids loose on top of nested containers, keep dozens of unmatched takeout pieces, or build one stack so tall that it falls when you remove the third container. Avoid buying organizers before measuring the shelf and door opening, and do not assume a new matching set will fix an over-large inventory.
Do not put damaged plastic back into food service just because it still stacks. Follow the container manufacturer's guidance for microwave, dishwasher, freezer, and heat use; not every plastic container is designed for every purpose. Keep food-storage decisions separate from the organization system.
Do not nest containers while they are still damp, store lids loose above tall stacks, or keep cracked and badly warped pieces simply because they match the organizer. Follow each container maker's instructions for microwave, freezer, dishwasher, and heat use. The storage system should make safe pieces easier to identify, not disguise worn ones.
The unload-the-dishwasher reset
Every time you put clean containers away, match lids immediately and return them to the correct upright section. If a base has no lid, place it in one small temporary spot rather than starting a new orphan pile. When its mate does not appear after the next wash, remove it from the active cabinet.
Once a month, straighten the lid file and check whether new takeout containers have multiplied. A system that is easy to reset during normal unloading will stay organized far longer than one that requires a special weekend project.
Treat normal dishwasher unloading as the maintenance routine. Dry pieces fully, nest bases in their assigned stack, file lids immediately, and put unmatched pieces in the temporary orphan spot rather than scattering them across the shelf. If takeout containers keep multiplying, edit them during unloading before they become part of the permanent set. When one size is constantly missing because it is always in use, that may justify another matching piece; when a size never leaves the cabinet, it is a better candidate for removal than for a new organizer.
30-second success check
- Every base you keep has a matching usable lid.
- Bases nest by compatible shape and lids stand where each size is visible.
- The most-used sizes can be grabbed without moving the reserve stack.
- The cabinet opens without lids or containers falling forward.
Questions that come up
Frequently asked questions
Part of Kitchen Cabinets & Work Zones — 8 guides.