The short answer
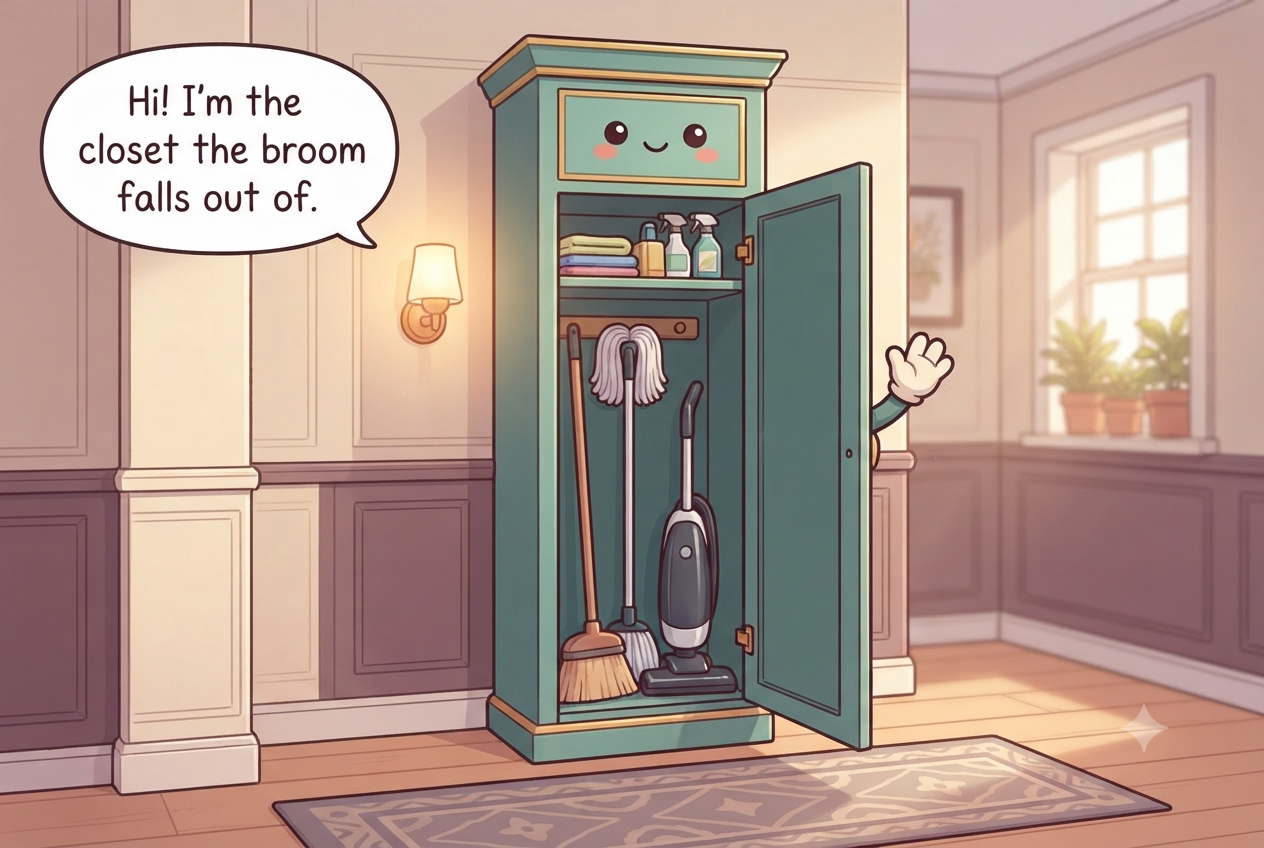
Get long-handled tools off the floor with securely mounted grips or hooks, reserve one standing bay for the vacuum, and let wet mops and brushes dry before closing them into the closet. Keep cleaners in original labeled containers, never mix them, and lock or secure them high and out of children's reach.
What to gather before you start
- Spring clips, a gripper strip, or hooks for long handles
- A few adhesive or over-the-door hooks for cords and dusters
- One or two caddies with handles
- A boot tray or mat for wet or muddy tools
- A high-shelf bin or a latching box for chemicals
- Labels for the caddies and the shelf bin
Measure first. Buy only the pieces that solve a specific access problem.
Empty it out and measure the narrow footprint
Remove every broom, mop, vacuum attachment, bucket, cleaner, rag, and refill. Measure the closet width, depth, door opening, and the uninterrupted wall space available for tool holders. Identify obstructions such as shelves, switches, pipes, or hinges so hooks do not create a new collision point.
Sort by function: floor tools, vacuum equipment, cleaning chemicals, cloths, paper goods, and refills. Throw away broken handles and empty packaging, and set aside household chemicals that require proper disposal. In a rental, plan an over-door rack, tension-based holder, or stable freestanding tool rack if wall drilling is not permitted.
Record the clear wall length available for tool grips, the door opening, and the vacuum's real parked footprint before buying hardware. Open and close the door with a broom temporarily held in the proposed position to catch hinge and handle collisions. Rental-friendly over-door or freestanding storage should be tested with the actual long tools, not just package dimensions. Check whether the closet floor has old chemical stains, water damage, or rust marks from metal cans before reloading. Clean or repair the surface as appropriate so new leaks and drips will be visible instead of disappearing into existing damage.
Get every long handle off the floor
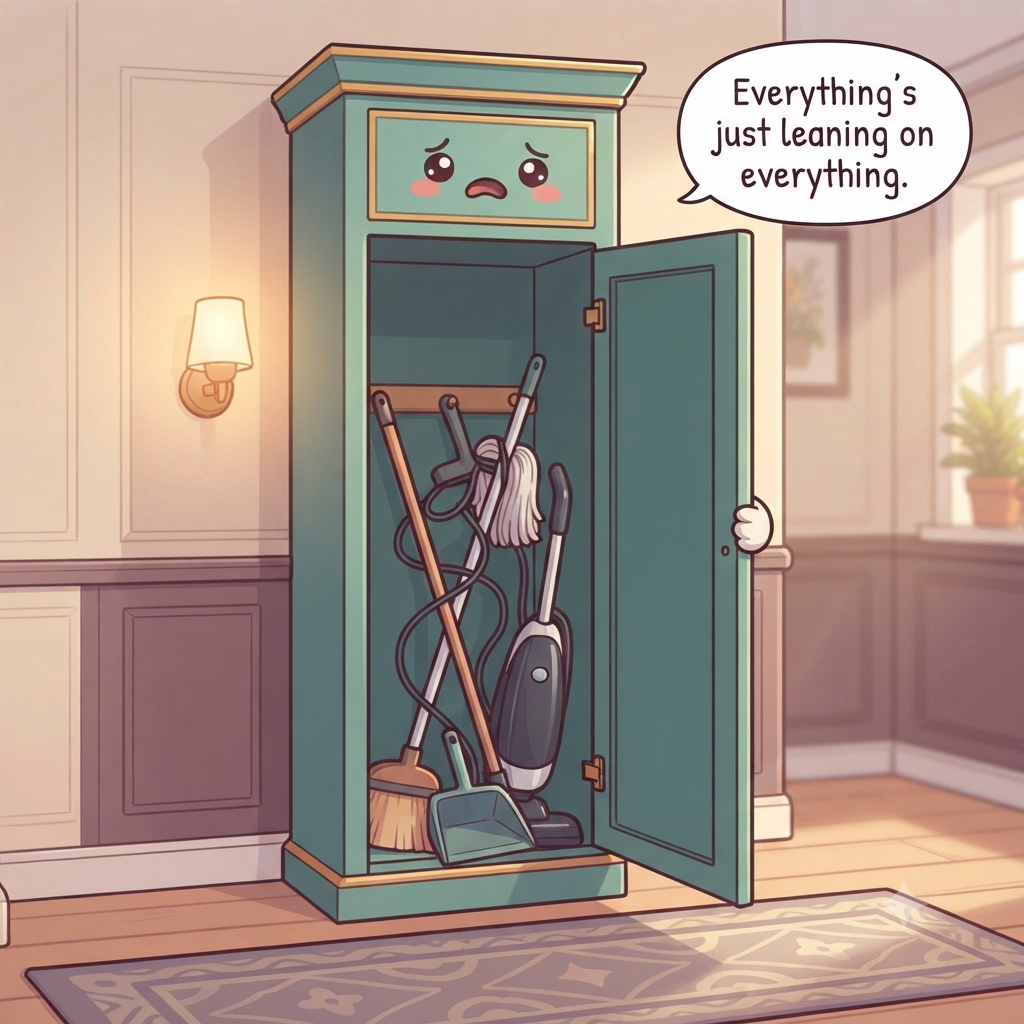
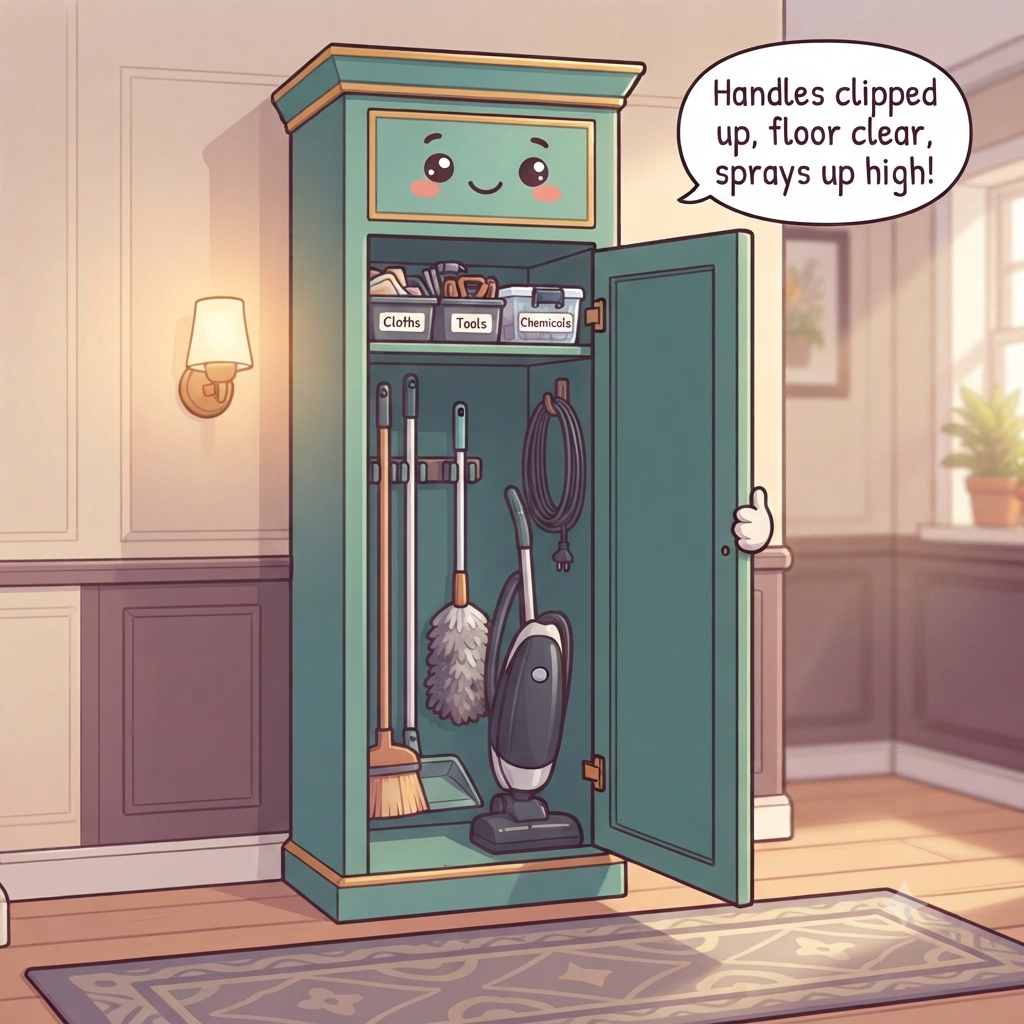
Install a tool rail, spring grip, or individual hooks at a height where broom and mop heads can hang without touching the floor. Mount hardware according to the manufacturer's load and wall instructions; a grip that tears out of drywall when you remove a mop is worse than floor storage.
Arrange tools by frequency with daily or weekly tools nearest the door. Do not pack handles so tightly that removing one knocks down three others. If a wet mop is going to hang there, make sure the head has airflow and cannot drip onto chemicals, cardboard, or vulnerable flooring.
Space grips so each handle can leave independently instead of crossing behind its neighbor. A broom or mop that has to be twisted out of a dense row will eventually end up leaning on the floor again. Follow the rail or hook load instructions and mount into the wall type the hardware is designed for. Keep tool heads from blocking each other as well as the handles. A wide push broom may need a different hook position from a slim mop, and a dustpan should have its own small hanger instead of wedging between long handles.
Give the vacuum its own standing spot
Create one floor footprint for the vacuum with its hose and cord contained so the closet door can close. Keep attachments in a nearby labeled bin or on a small hook rather than scattered under the machine. If the vacuum charges in the closet, follow the manufacturer's charging and ventilation instructions and keep the charger accessible for inspection.
Do not stack heavy buckets or chemical cases on top of the vacuum. A fixed bay makes it obvious when overflow has invaded the closet: if another object occupies the vacuum footprint, it needs a different home.
Park the vacuum with its cord, hose, and wand contained inside the same footprint so nothing catches the door. Keep attachments together in a labeled bin near the machine and follow the manufacturer's instructions if a battery charges in the closet. Do not bury the charger behind chemical cases where heat or damage is hard to notice.
Let wet tools dry and keep chemicals up and away
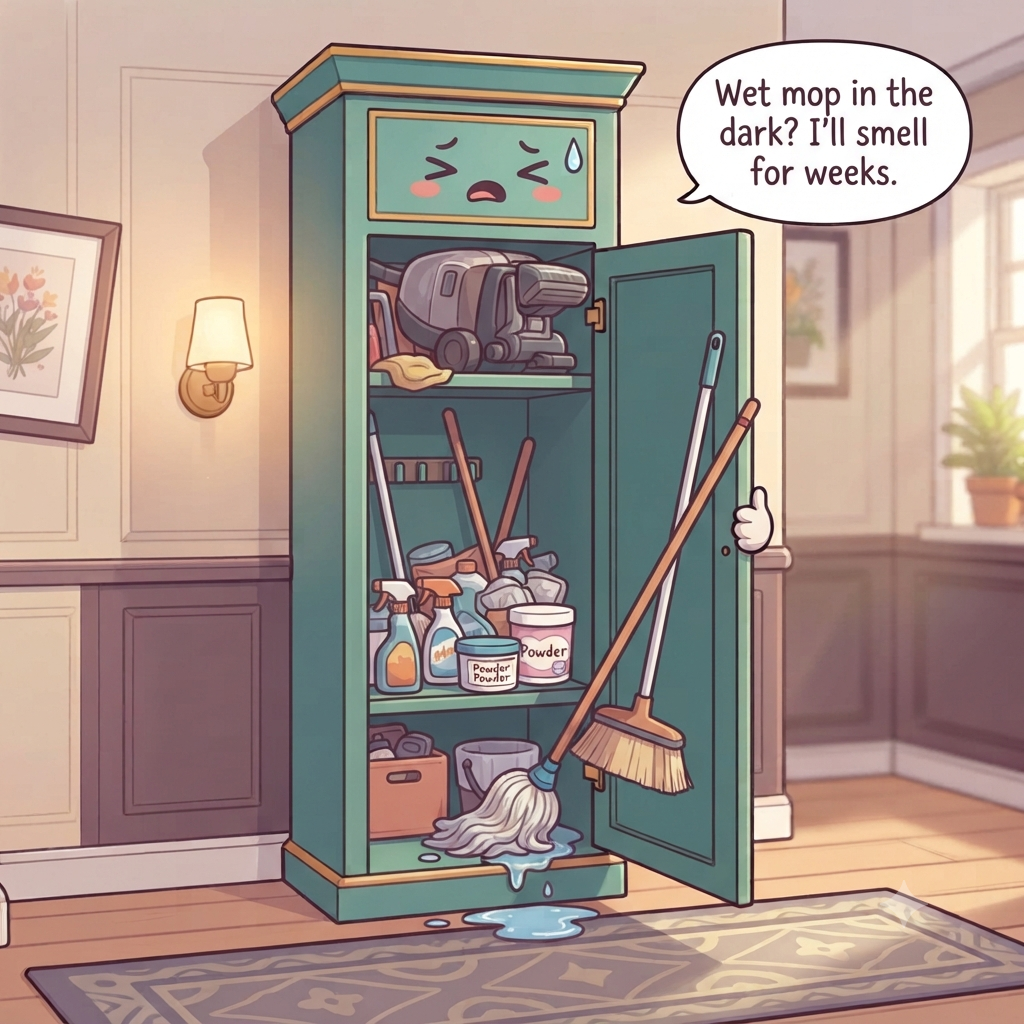
Rinse dirty mop heads according to their care instructions and allow them to dry fully before trapping them in a dark, closed closet. Separate damp cloths from dry paper goods and keep a washable drip tray if tools enter the closet before they are completely dry. Persistent musty odor is a sign to improve drying, not mask it with fragrance.
Store cleaners, solvents, pesticides, and other hazardous products in their original labeled containers. In homes with children, keep them locked and out of reach and sight. Never decant chemicals into beverage or food containers, and never mix cleaning products because combinations such as bleach with ammonia or acids can release dangerous gases.
Treat drying as part of storage: rinse and wring mop heads as their care instructions allow, then give them airflow until fully dry. Keep paper products and spare cloths away from drip zones. CPSC advises locked storage for household chemicals in homes with children; original labels and child-resistant packaging should stay intact. Separate incompatible products according to their labels and never assume that two cleaners are safe to combine because they are used in the same room. Bleach should never be mixed with ammonia or acids; storage should preserve original warnings and prevent accidental mixing.
Pack a caddy per floor and label the rest
If you carry supplies through a multi-level home, keep one lightweight caddy with the few products and cloths used most often on that floor. Return the caddy to a secure location after use; a portable handle is not child-resistant storage. Keep refills and specialty products in a separate labeled zone rather than duplicating every chemical in every caddy.
Use labels for categories that look alike, such as vacuum attachments, microfiber cloths, or appliance-cleaning supplies. Keep frequently handled gloves and cloths near the front, but separate clean cloths from dirty or damp ones.
A portable caddy is a work tool, not secure storage. After cleaning, return it to a locked or otherwise child-safe location and keep bulk refills separate so the caddy stays light. Label look-alike attachments and cloth types at the shelf, where they are returned, rather than covering every individual item with tags. Keep only the small set of products actually needed for that floor in the caddy. Carrying every cleaner through the house increases weight and exposure without improving efficiency; specialty products can stay secured in the main closet until the task requires them.
What sends a broom closet back to clutter
Do not lean a crowded bundle of brooms and mops in the corner where they fall out when the door opens. Avoid closing damp mop heads into a stagnant closet, storing chemicals low in a child-accessible home, transferring cleaners to unlabeled bottles, or mixing products to save space.
Do not install wall grips without checking the wall and hardware load rating. Also avoid turning the closet into bulk paper storage if wet tools or leaking cleaners share the same floor. Keep incompatible categories separated.
Do not store damp mops against cardboard, lean a bundle of long handles in the doorway, or put hazardous chemicals into low open baskets. Avoid mixing cleaners, and never transfer them to food or drink containers. If the closet smells musty, fix the drying or moisture problem instead of masking it with fragrance.
The quick monthly reset
Once a month, remove loose hair and debris from broom heads, check mop drying, wipe the floor, and confirm every tool grip remains secure. Return stray attachments to their labeled bin and remove empty bottles from the refill area.
Review chemical containers for leaks, damaged labels, or products you no longer use and follow local disposal instructions. A short maintenance pass prevents the closet from becoming both unstable and unsafe.
Use the monthly pass to test the hardware as well as tidy the closet. Make sure grips still hold securely, the vacuum charger and cord are undamaged, and chemical labels remain readable. Remove empty bottles and dispose of unwanted products according to their labels and local guidance rather than creating a permanent discard shelf. Replace worn tool grips or damaged caddies before they fail during normal use.
Chemical and wet-tool safety
- Store cleaning chemicals in original labeled containers and secure hazardous products from children.
- Let wet mops, brushes, and cloths dry before enclosing them in a crowded closet.
- Keep incompatible chemicals separate according to their labels and never mix cleaning products.
Renter-friendly option
Use an over-door tool rack, freestanding narrow utility shelf, or tension-style organizer rated for the load instead of drilling wall-mounted grippers. Keep wet tools able to dry and keep chemicals locked and in original containers.
30-second success check
- Long handles stay secured off the floor and do not fall out when the door opens.
- The vacuum, hose, cord, and attachments fit inside one predictable footprint.
- Mops and wet tools dry before they return to closed storage.
- Chemicals stay in original containers and are secured from children.
- Nothing blocks the door, utility access, or the retrieval path for the daily cleaning tool.
Questions that come up
Frequently asked questions
Part of Garage, Laundry, Attic & Basement — 6 guides.